Export and Import Dedicated Server Configurations
Export a Dedicated Server Configuration
Follow the steps below to export a Dedicated Server Configuration from your game namespace.
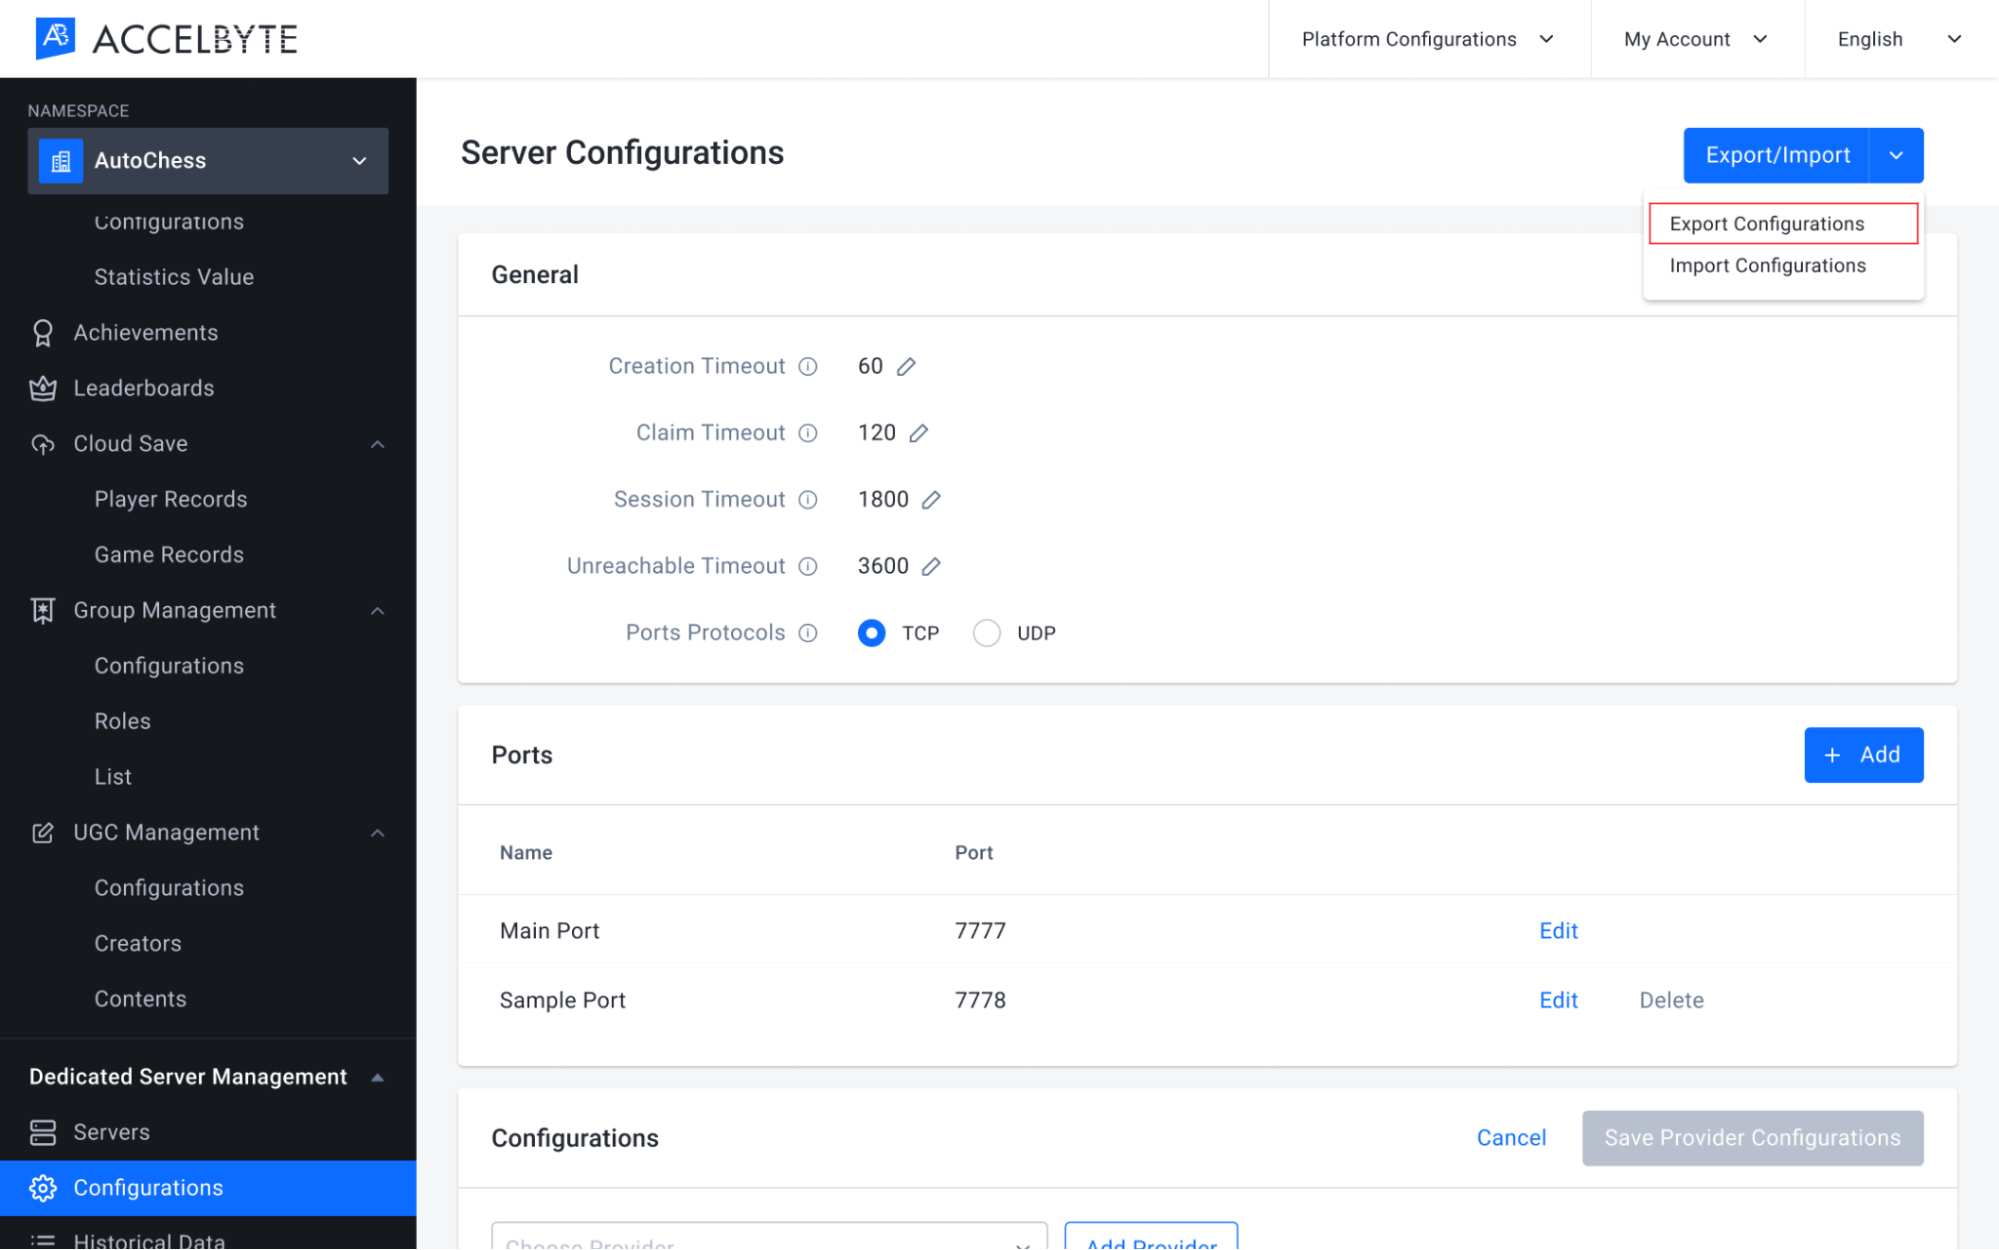
In the Admin Portal, open the game namespace that contains the configuration you want to export. On the Server Configurations page, click the Export/Import button. Then, click Export.
Your Server Configuration will be exported in a JSON file. Here is an example of the contents:
{
    "namespace": "1",
    "createdAt": "2021-08-31T03:24:35Z",
    "updatedAt": "2021-08-31T03:24:35Z",
    "providers": [
        "aws"
    ],
    "port": 2,
    "protocol": "tcp",
    "creation_timeout": 120,
    "claim_timeout": 240,
    "session_timeout": 3600,
    "unreachable_timeout": 7200,
    "ports": {
        "customport1edit": 3,
        "customport2edit": 4
    },
    "default_version": "default",
    "pod_configs": [],
    "images": [],
    "deployments": []
}IMPORTANTIf you use our Matchmaking service, don't forget to also export your Matchmaking Configuration. You will need both configurations if you want to use them in a different game namespace.
Import a Dedicated Server Configuration
Follow the steps below to import a Dedicated Server Configuration into a game namespace.
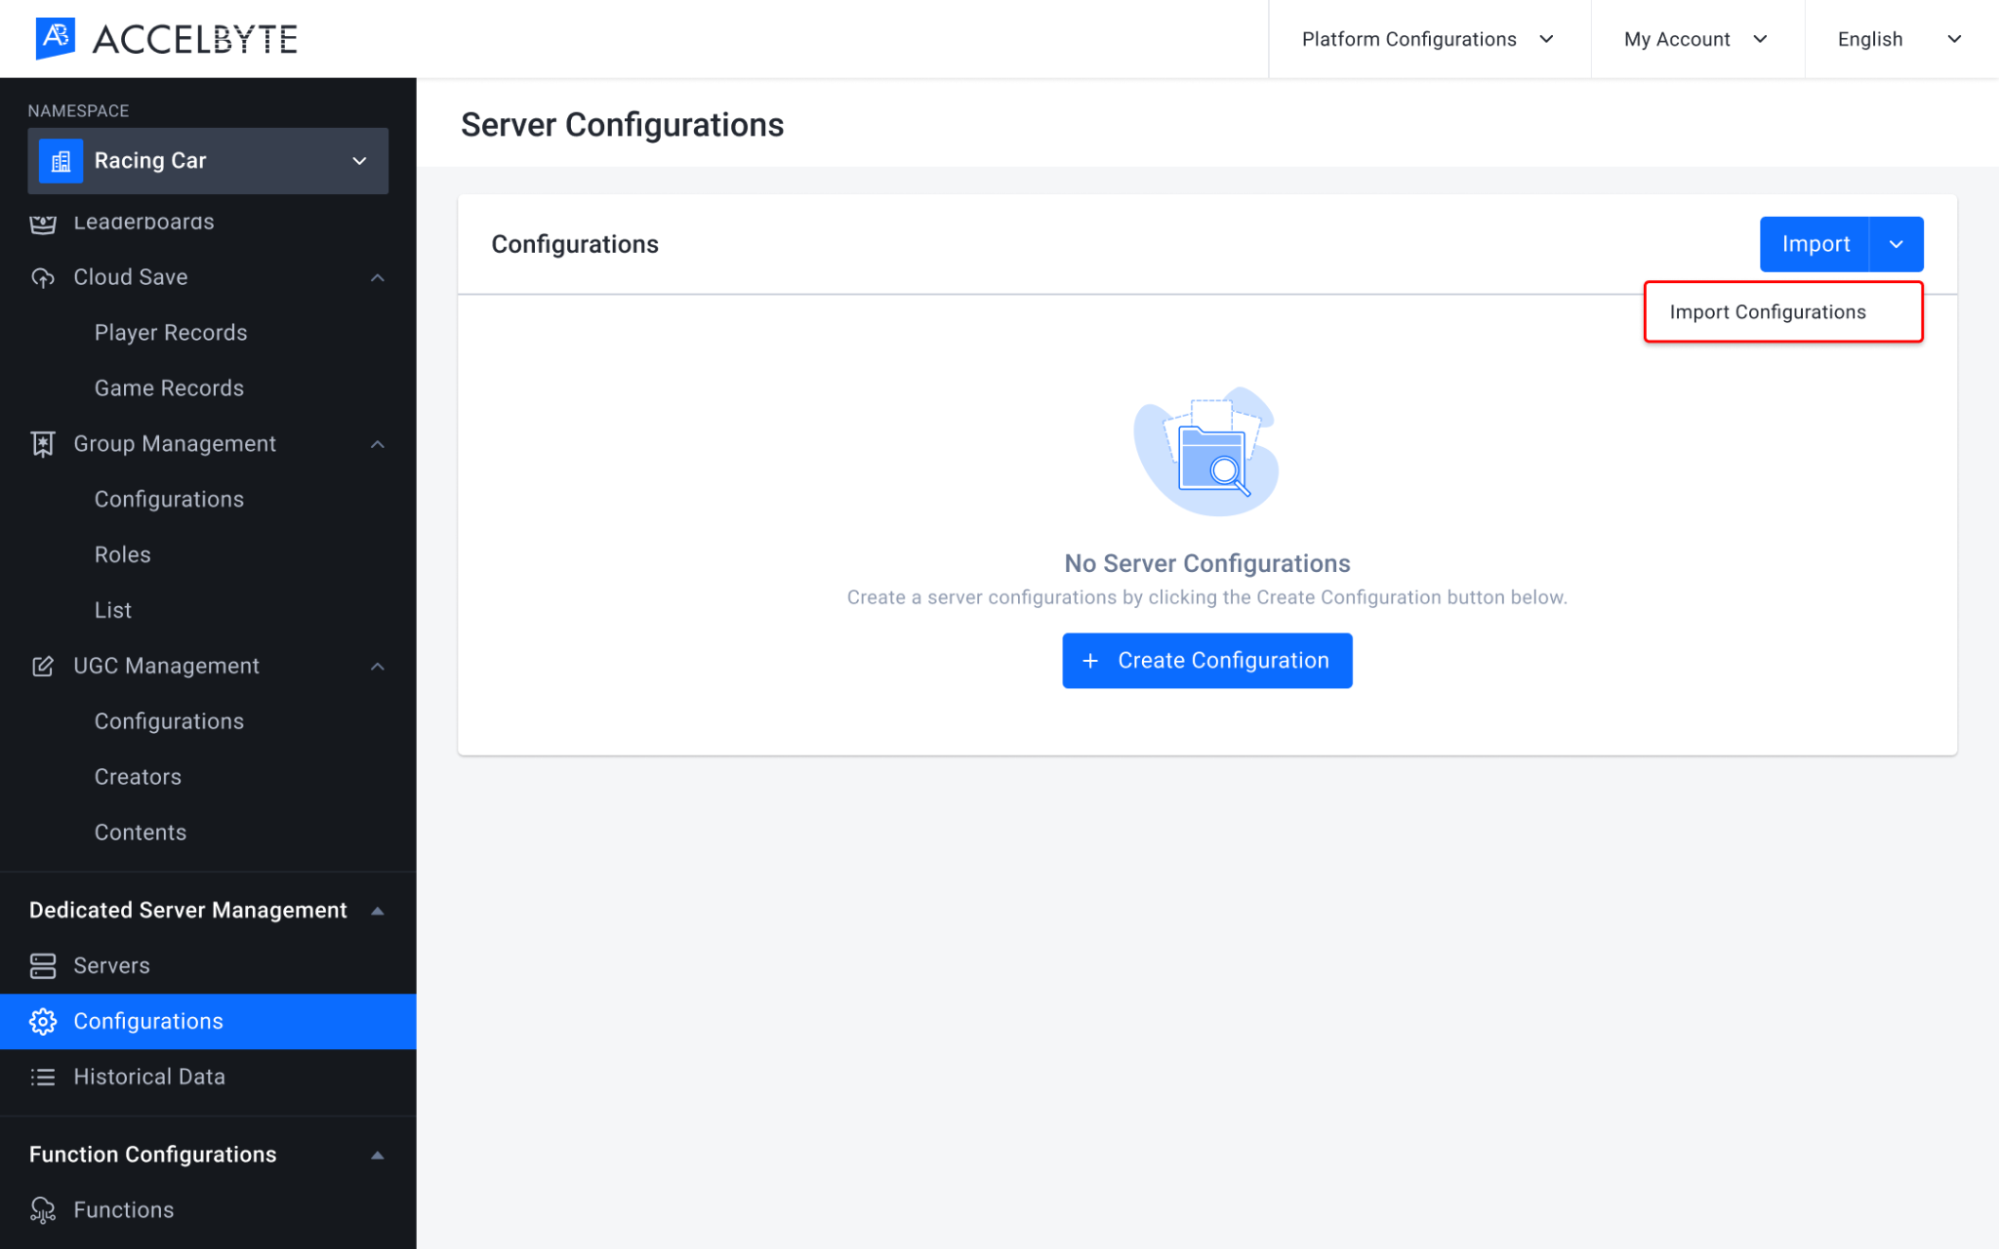
In the Admin Portal, go to the game namespace where you want to import the configuration. On the Server Configurations page, click the Export/Import button. Then, click Import.
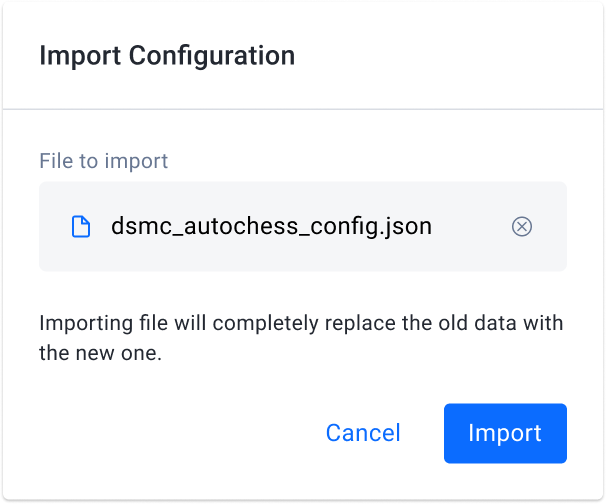
The Import Configuration form appears. Here, select the configuration file that you want to import.
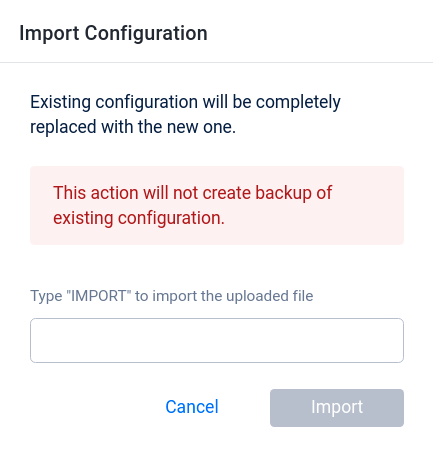
A confirmation window appears. To confirm your selection, type IMPORT in the text box, then click the Import button.
Here you can see the configuration has been added to the namespace.
 IMPORTANT
If you use our Matchmaking service, don't forget to also import your Matchmaking Configuration. You will need both configurations in this namespace to use Matchmaking with Armada.