Create a New Dedicated Server Configuration
Last updated on
Go to the Dedicated Server Management section and open the Configurations menu.
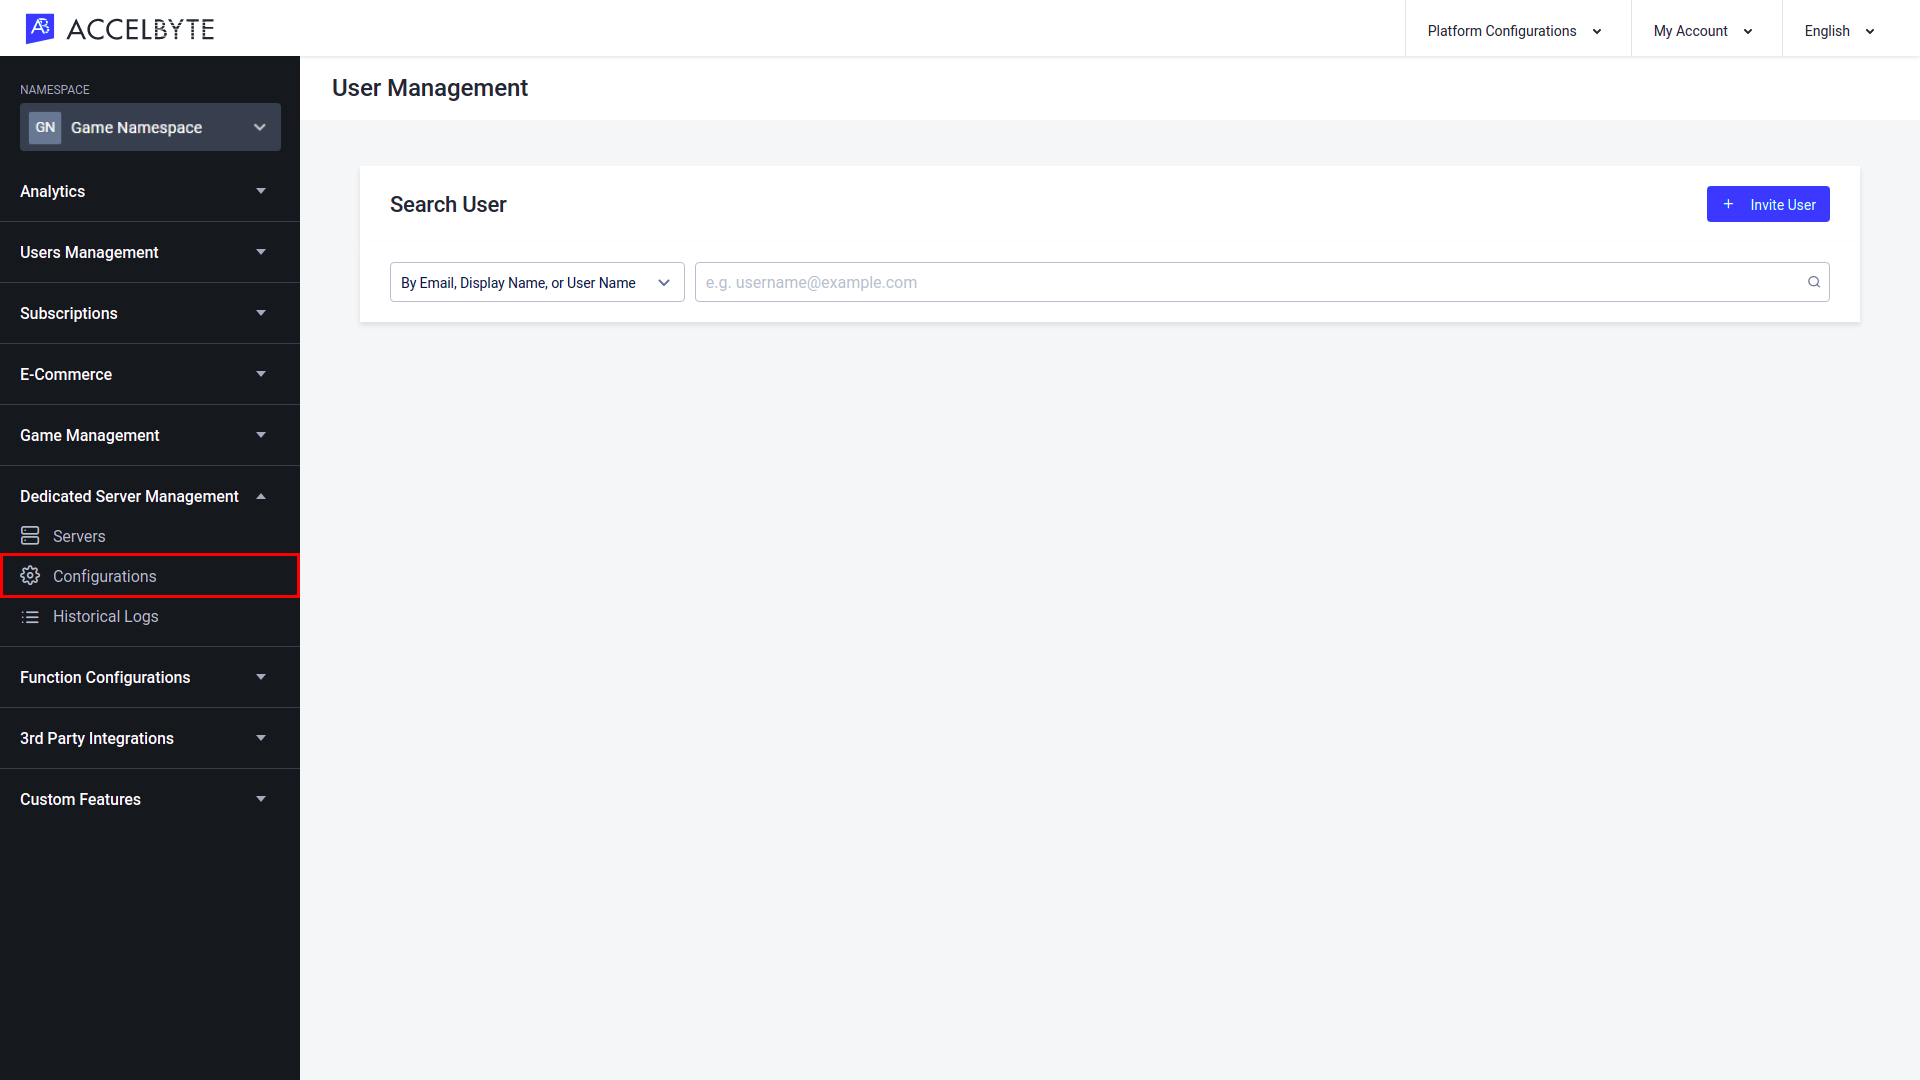
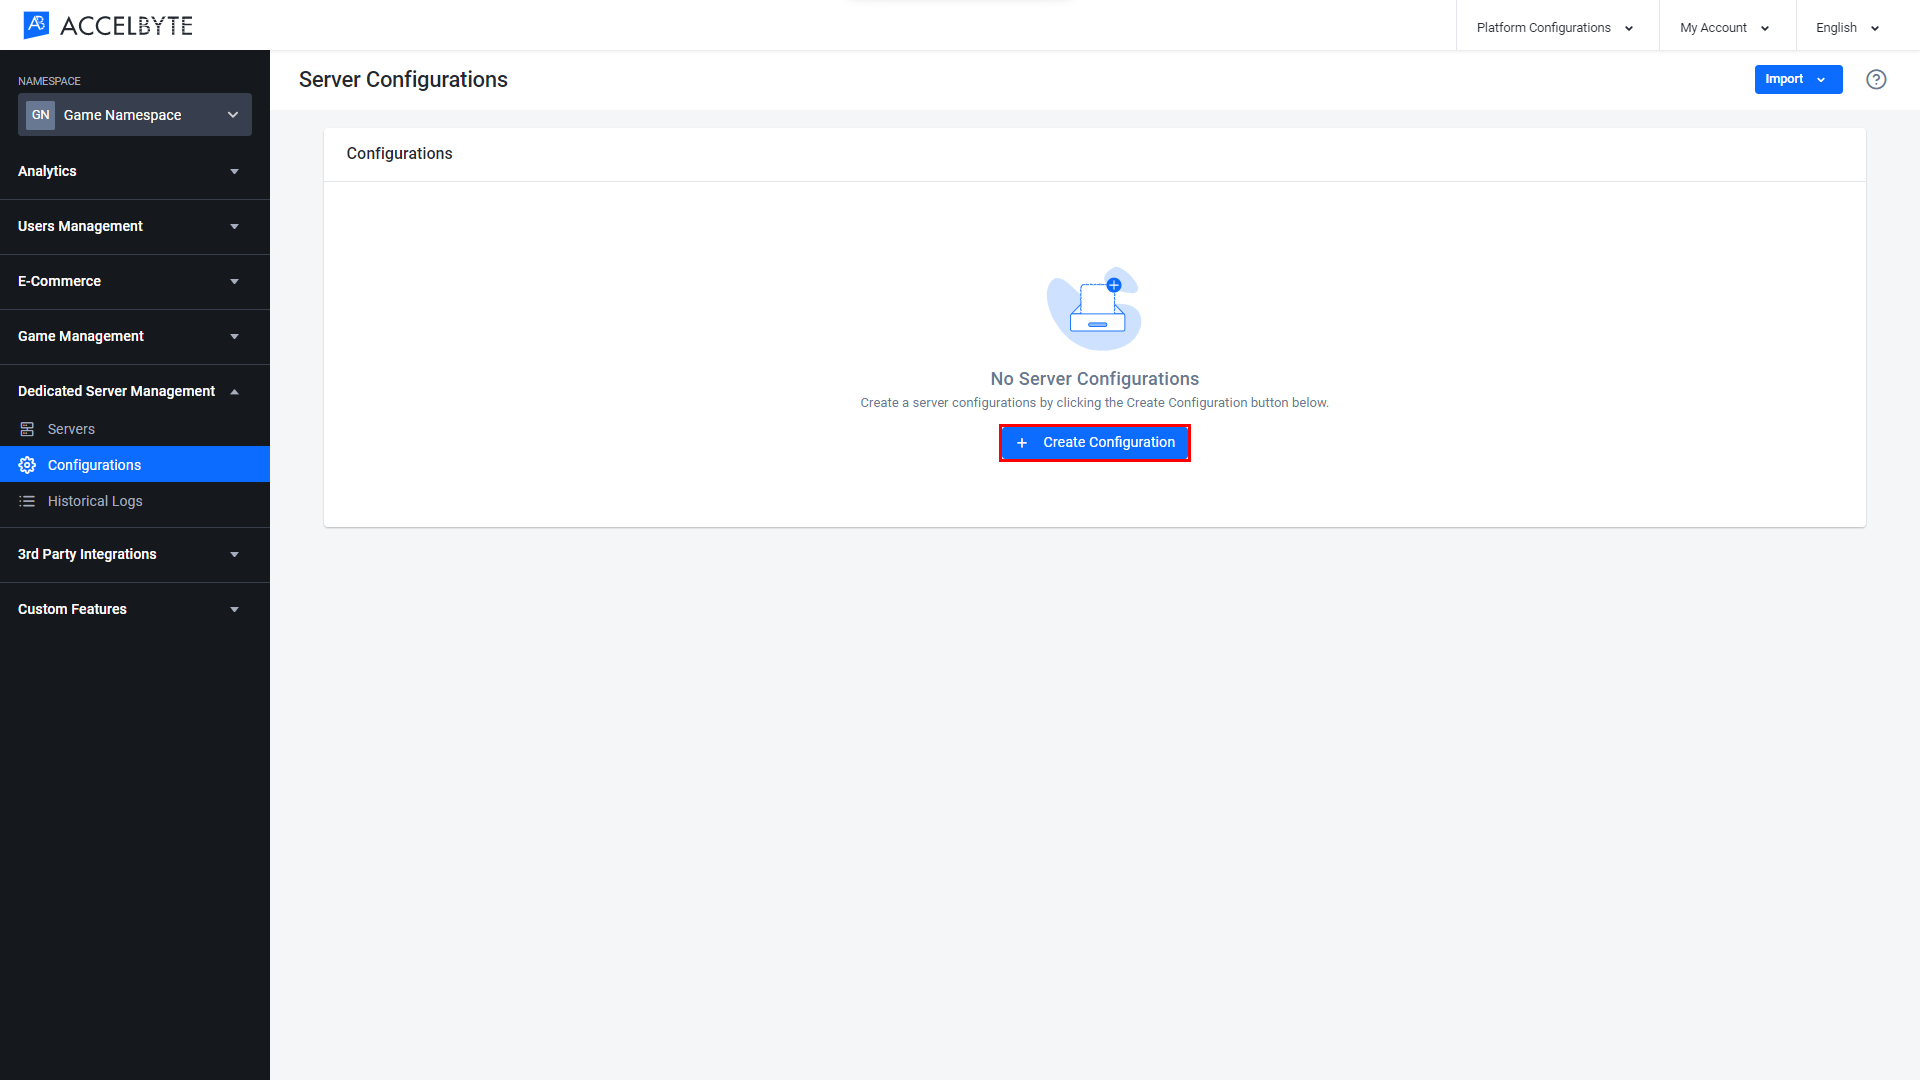
In the Server Configurations menu, click Create Configuration.
After the Create Server Configuration form appears, you will see the first step to create the configuration is about the Timeout configuration. Fill it in with the required information.
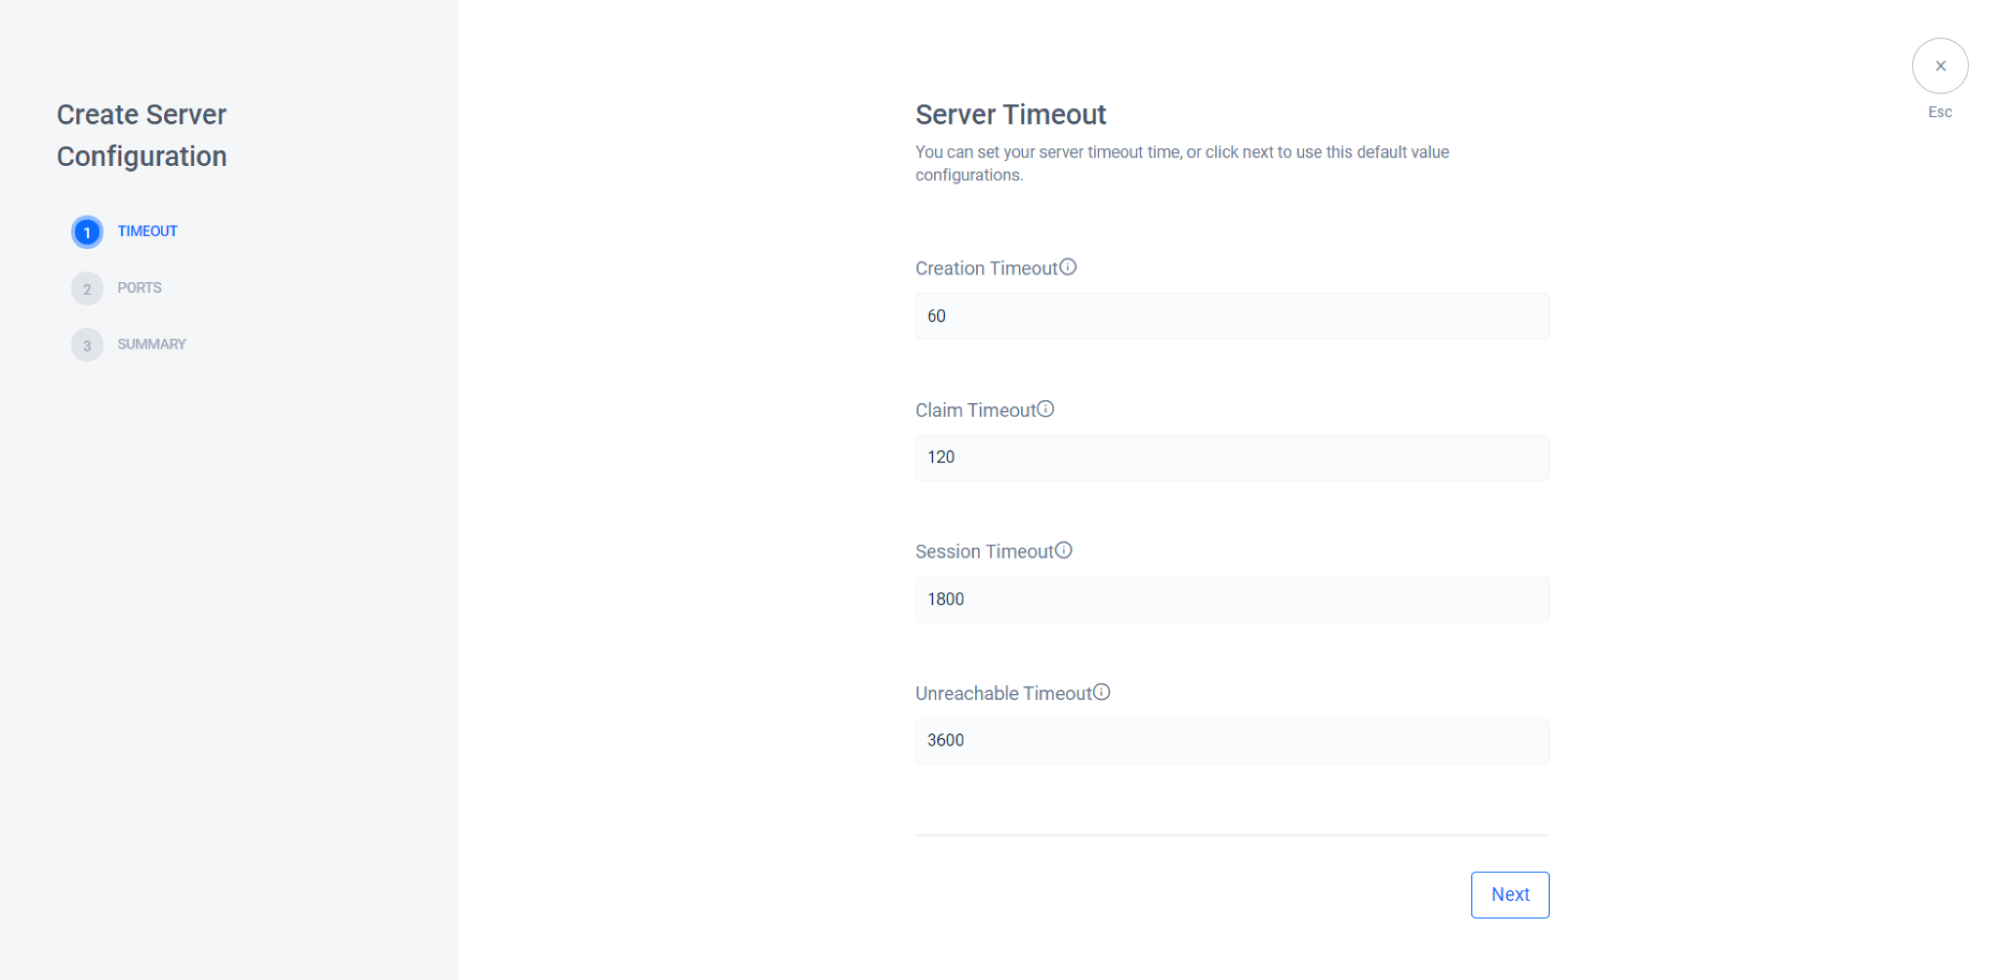
- Creation Timeout, Time limit in seconds for a dedicated server to register itself to the Lobby service after being spawned. If this time limit is exceeded, the DSM will remove the dedicated server.
- Claim Timeout, Time limit in seconds for the Lobby service to claim a dedicated server after it’s requested. If this time limit is exceeded, the DSM will remove the dedicated server.
- Session Timeout, Time limit in seconds for an active session to finish. If this time limit is exceeded, the DSM will remove the dedicated server.
- Unreachable Timeout, Time limit in seconds for an unreachable dedicated server to call the heartbeat endpoint. If this time limit is exceeded, the DSM will remove the dedicated server.
Click Next to go to the next step.
Now you will see the Ports configuration panel here. Please input ports where your dedicated server is listening to the configuration.
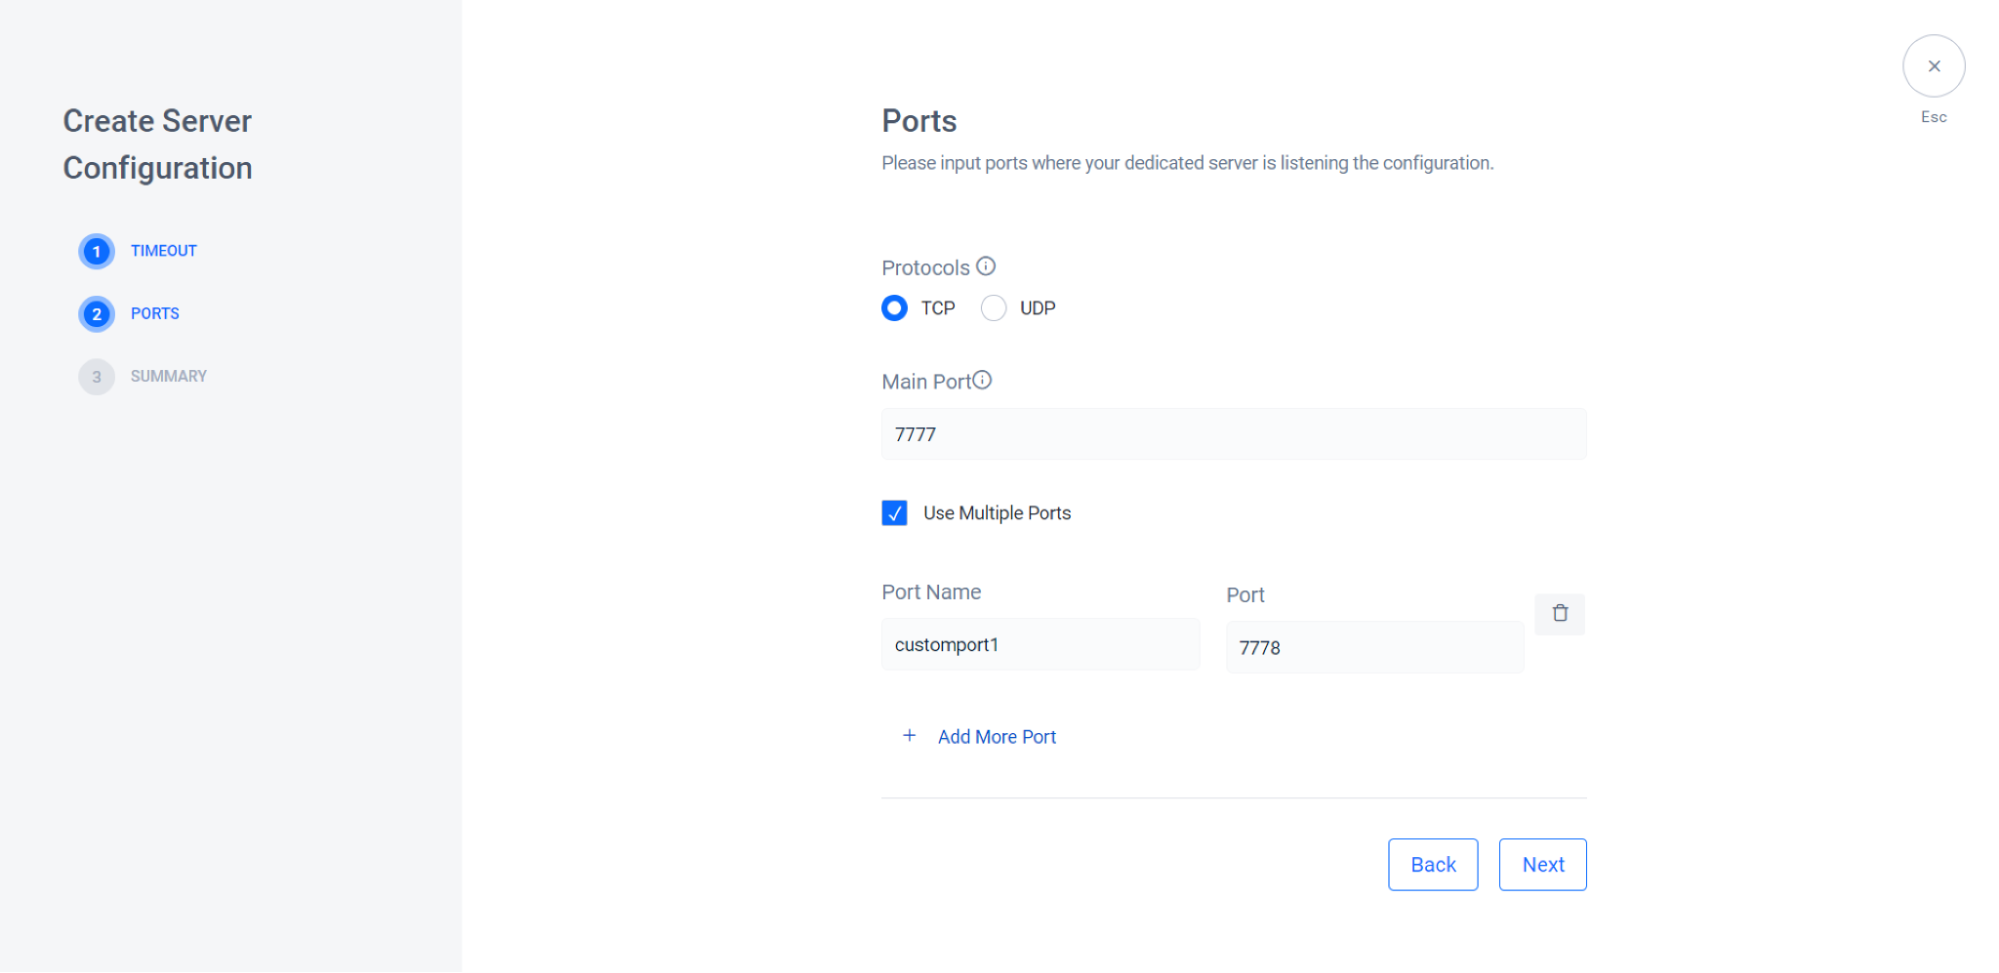
- Protocols, You can specify the transport behavior using TCP to provides reliable streams, or UDP to provide datagram transport facilities (ideal for real-time multiplayer games).
- Main Port, Port where your dedicated server is listening for connection.
- Use Multiple Ports, you can add more new ports whenever you need a multiple instance of port. You can click Add More Port to add multiple ports.
Click Next to go to the next panel.
Now you will see the Summary Panel. This is all information related to the configuration that you have made.
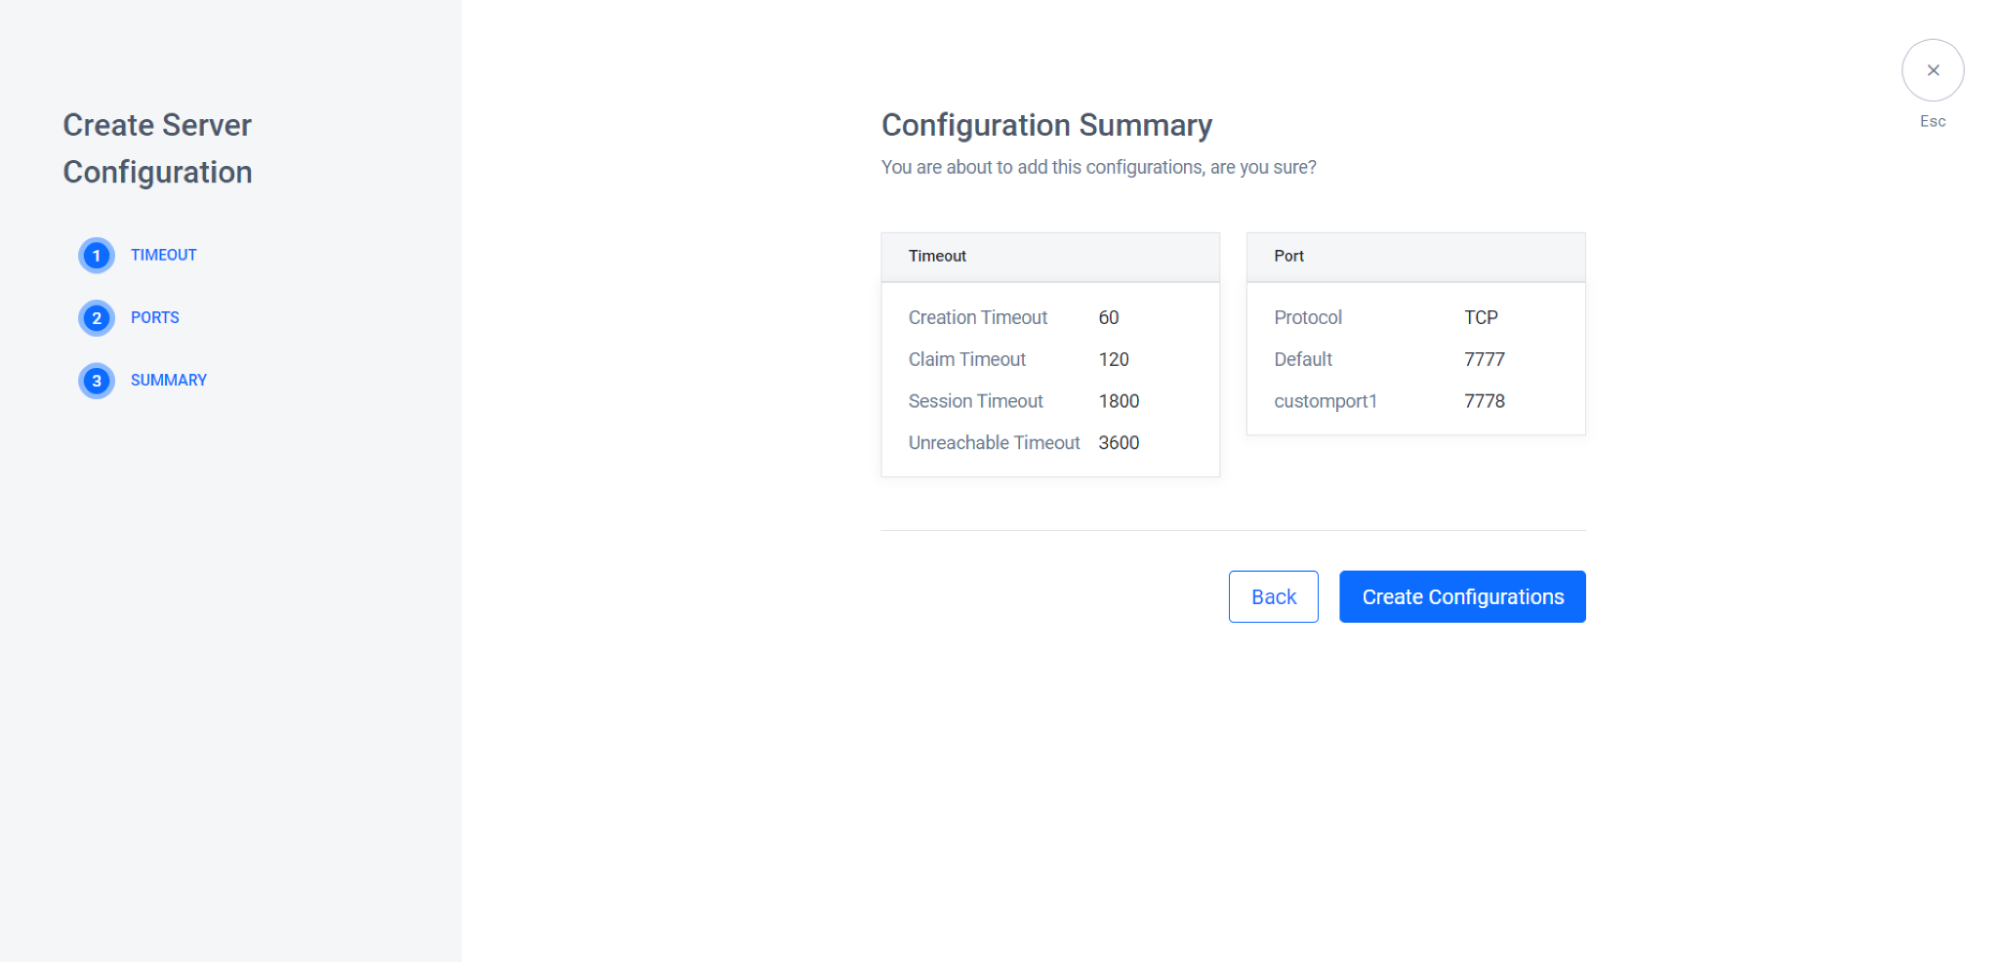
Click Create Configuration to create your new configuration.