Set Up the Matchmaking Channel in the Admin Portal
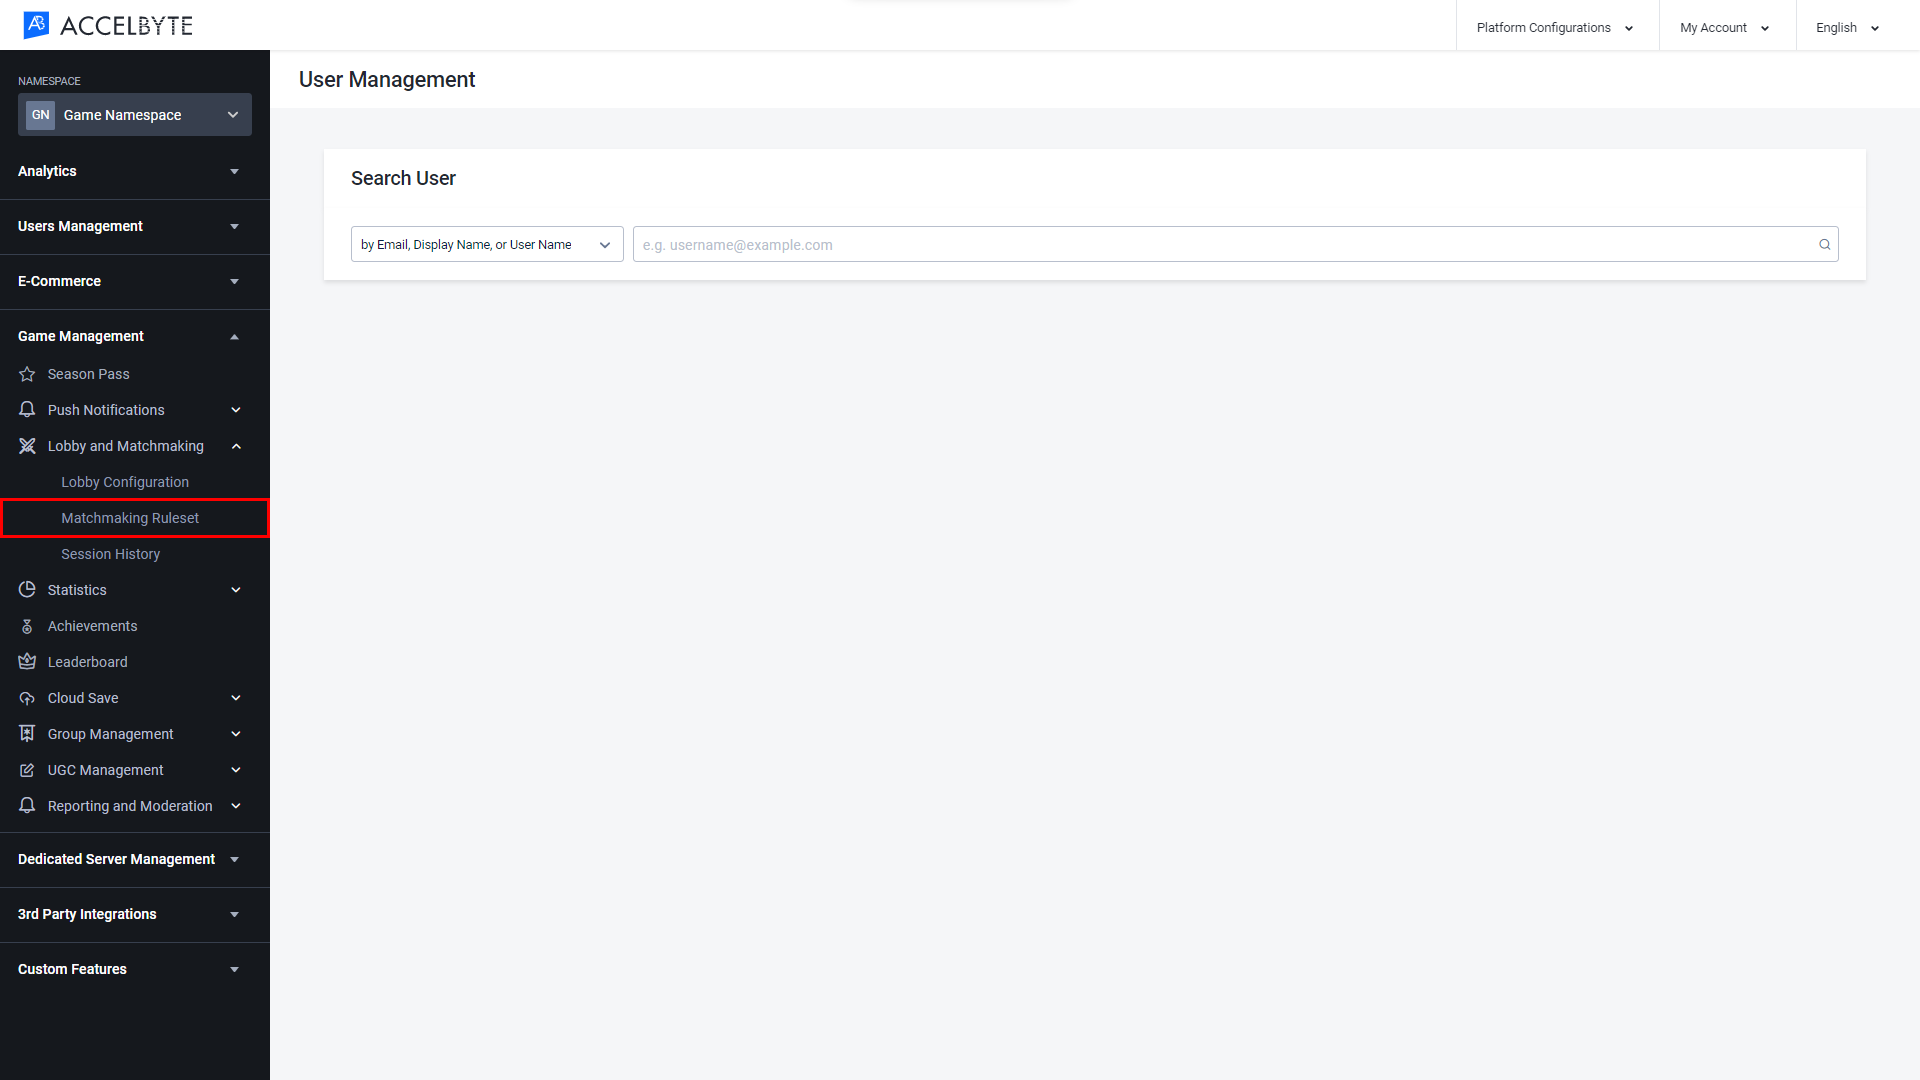
In the Admin Portal, choose a Game Namespace, open the Game Management section, click Lobby and Matchmaking, and select Matchmaking Ruleset.
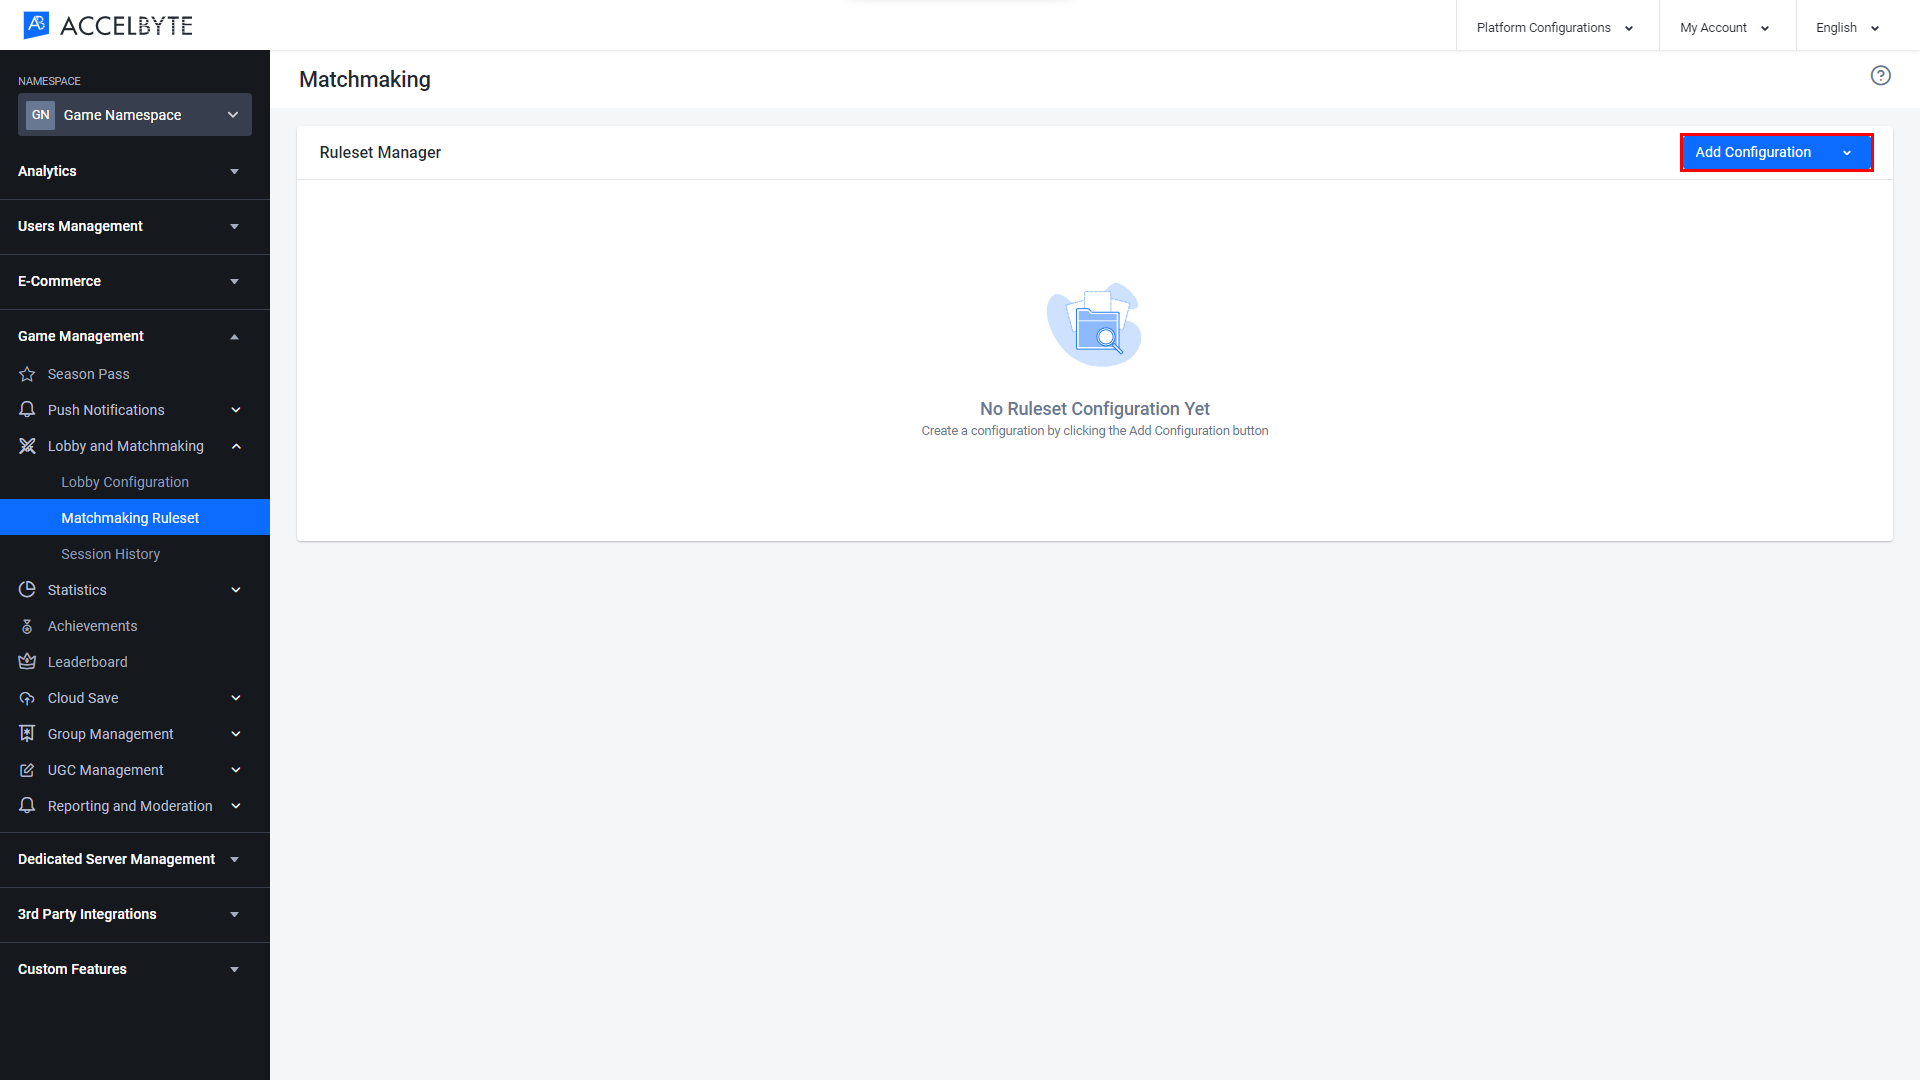
On the Matchmaking page, click Add Configuration to create a new matchmaking channel.
The Create Ruleset wizard will appear. Fill the required information on the Configuration page.
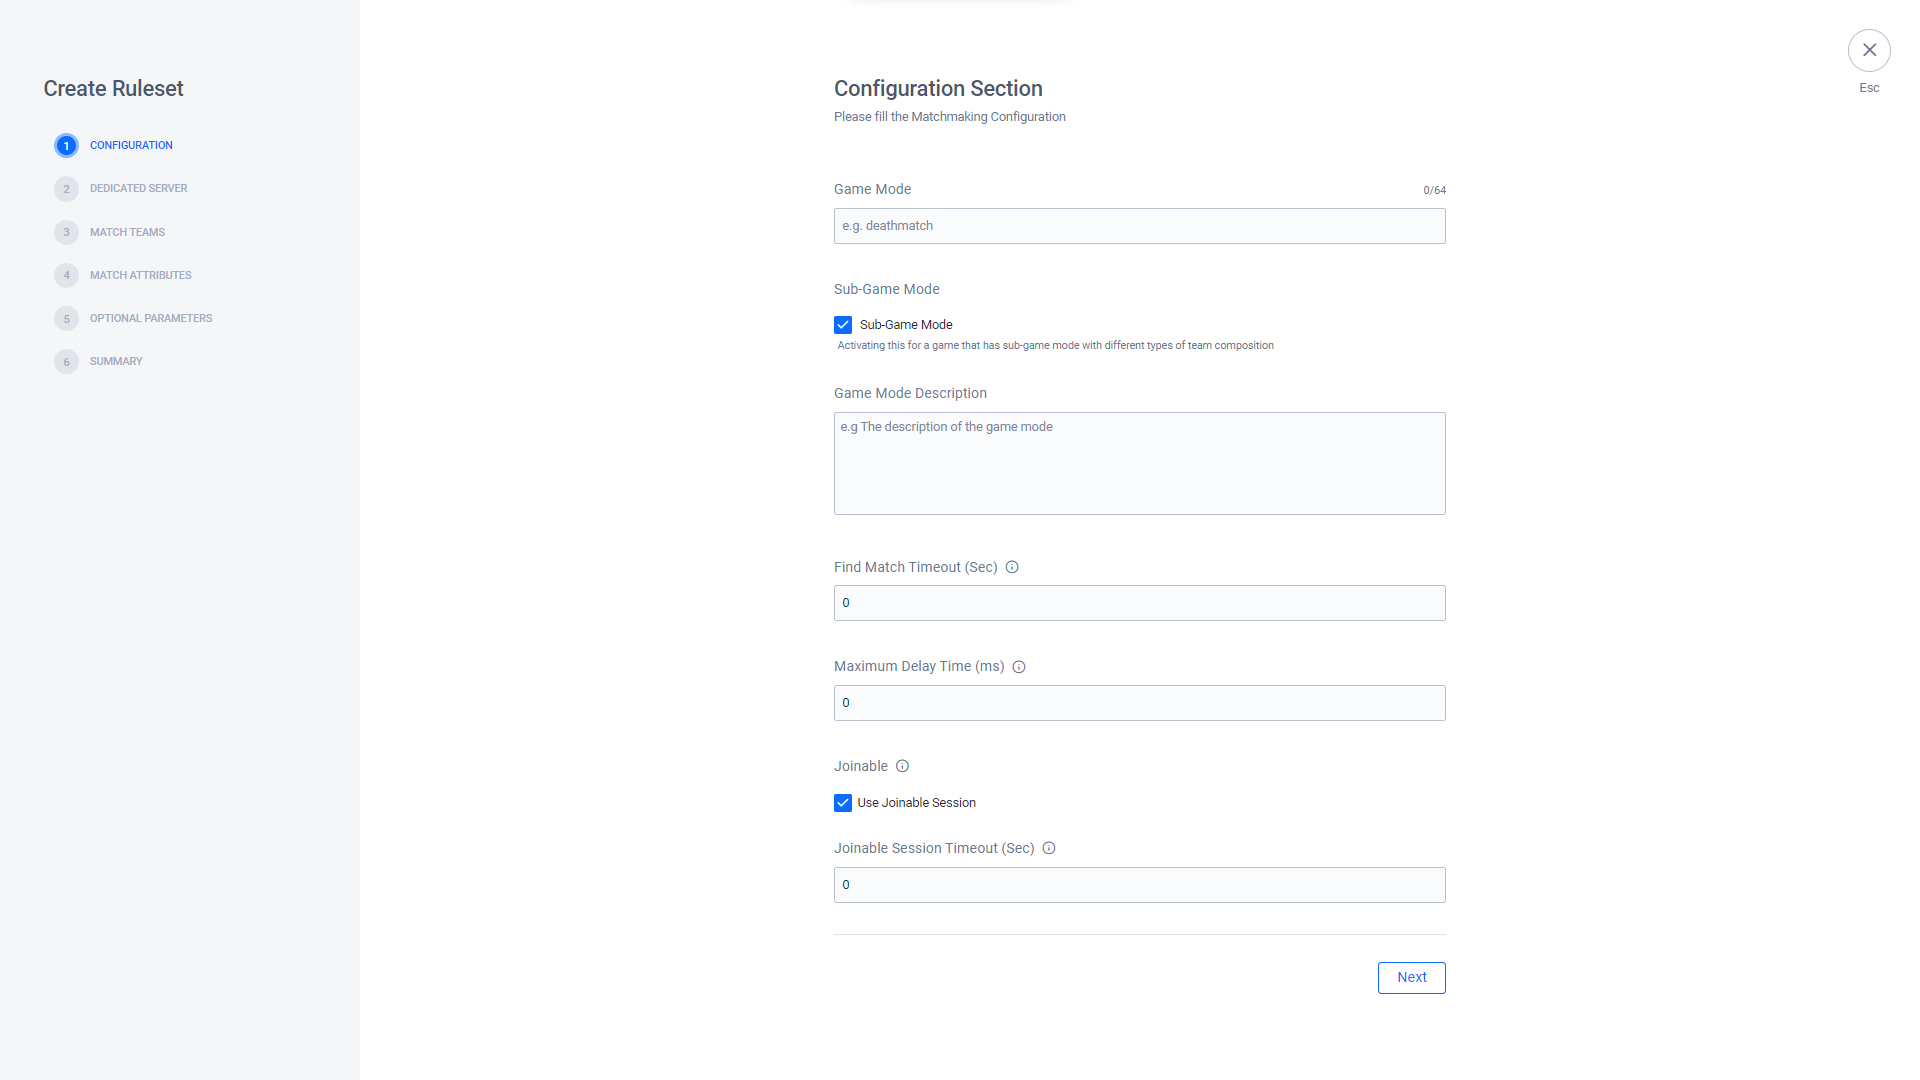
Input a name for the game mode in the Game Mode field.
Activate Sub-Game Mode by selecting the checkbox.
Input a description of the game mode in the Game Mode Description field.
In the Find Match Timeout (sec) field, input the amount of time (in seconds) the game client should spend finding a match before timing out.
In the Maximum Delay TIme (ms) field, input the amount of time (in milliseconds) the game server will wait to assign a Match ID to a newly initiated match.
tipThe Maximum Delay Time can be used to help match players together in situations where the player count is low, such as during testing.
If you want your matchmaking to be joinable, select the Use Joinable Session checkbox.
If you select Use Joinable Session, input how long, in seconds, a match should be joinable before timing out in the Joinable Session Timeout (sec) field.
IMPORTANTBefore you can implement Joinable Sessions, you must grant the following permission to your game server's IAM Client:
Usage Resource Action Joinable Session NAMESPACE:{namespace}:SESSION Create, Read, Update, Delete After filling in all of the fields in the Configuration section, click Next.
On the Dedicated Server page, fill in the required information:
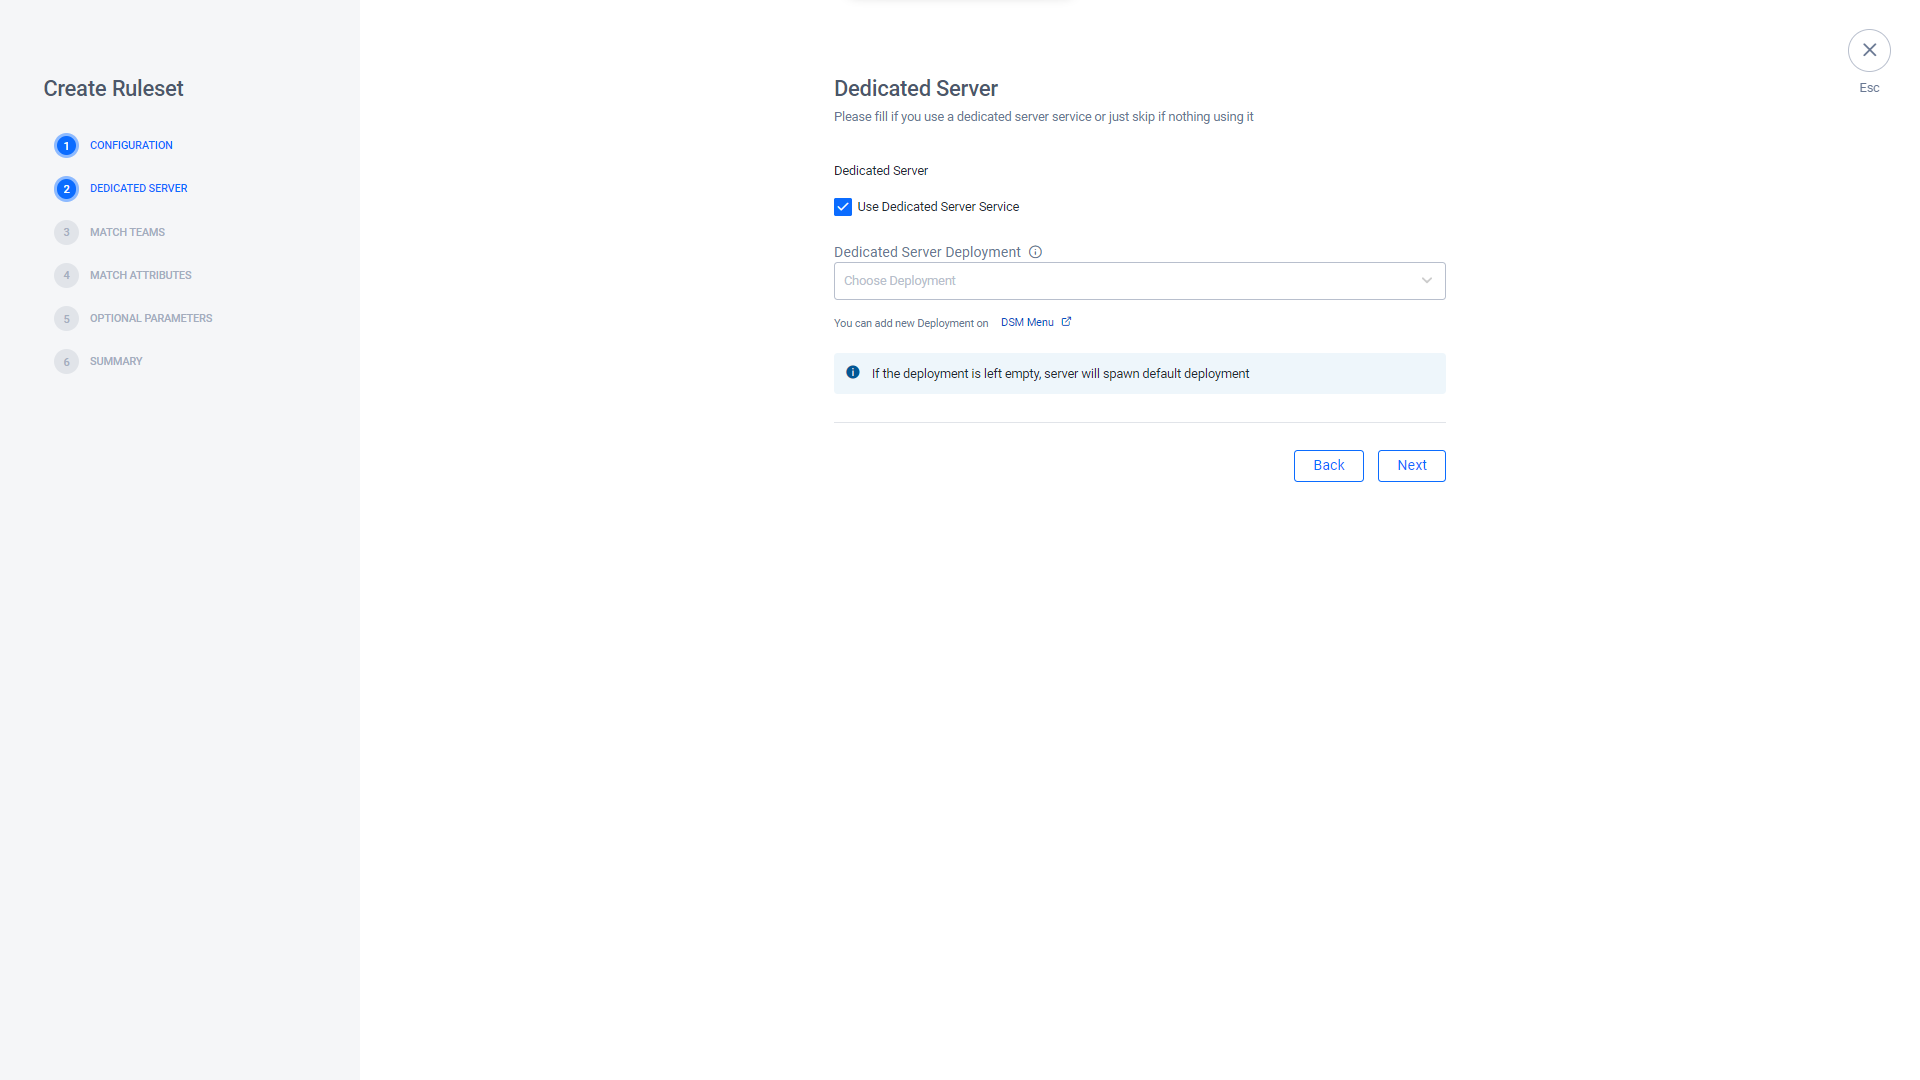
- If you want to use Armada, select the Dedicated Server option.
- Choose Dedicated Server Deployment. If the deployment is left empty, Armada will spawn the default deployment.
After filling in the fields in the Dedicated Server section, click Next.
- If you want to use Armada, select the Dedicated Server option.
On the Match Teams page:
If you activated Sub-Game mode on the Configuration page:
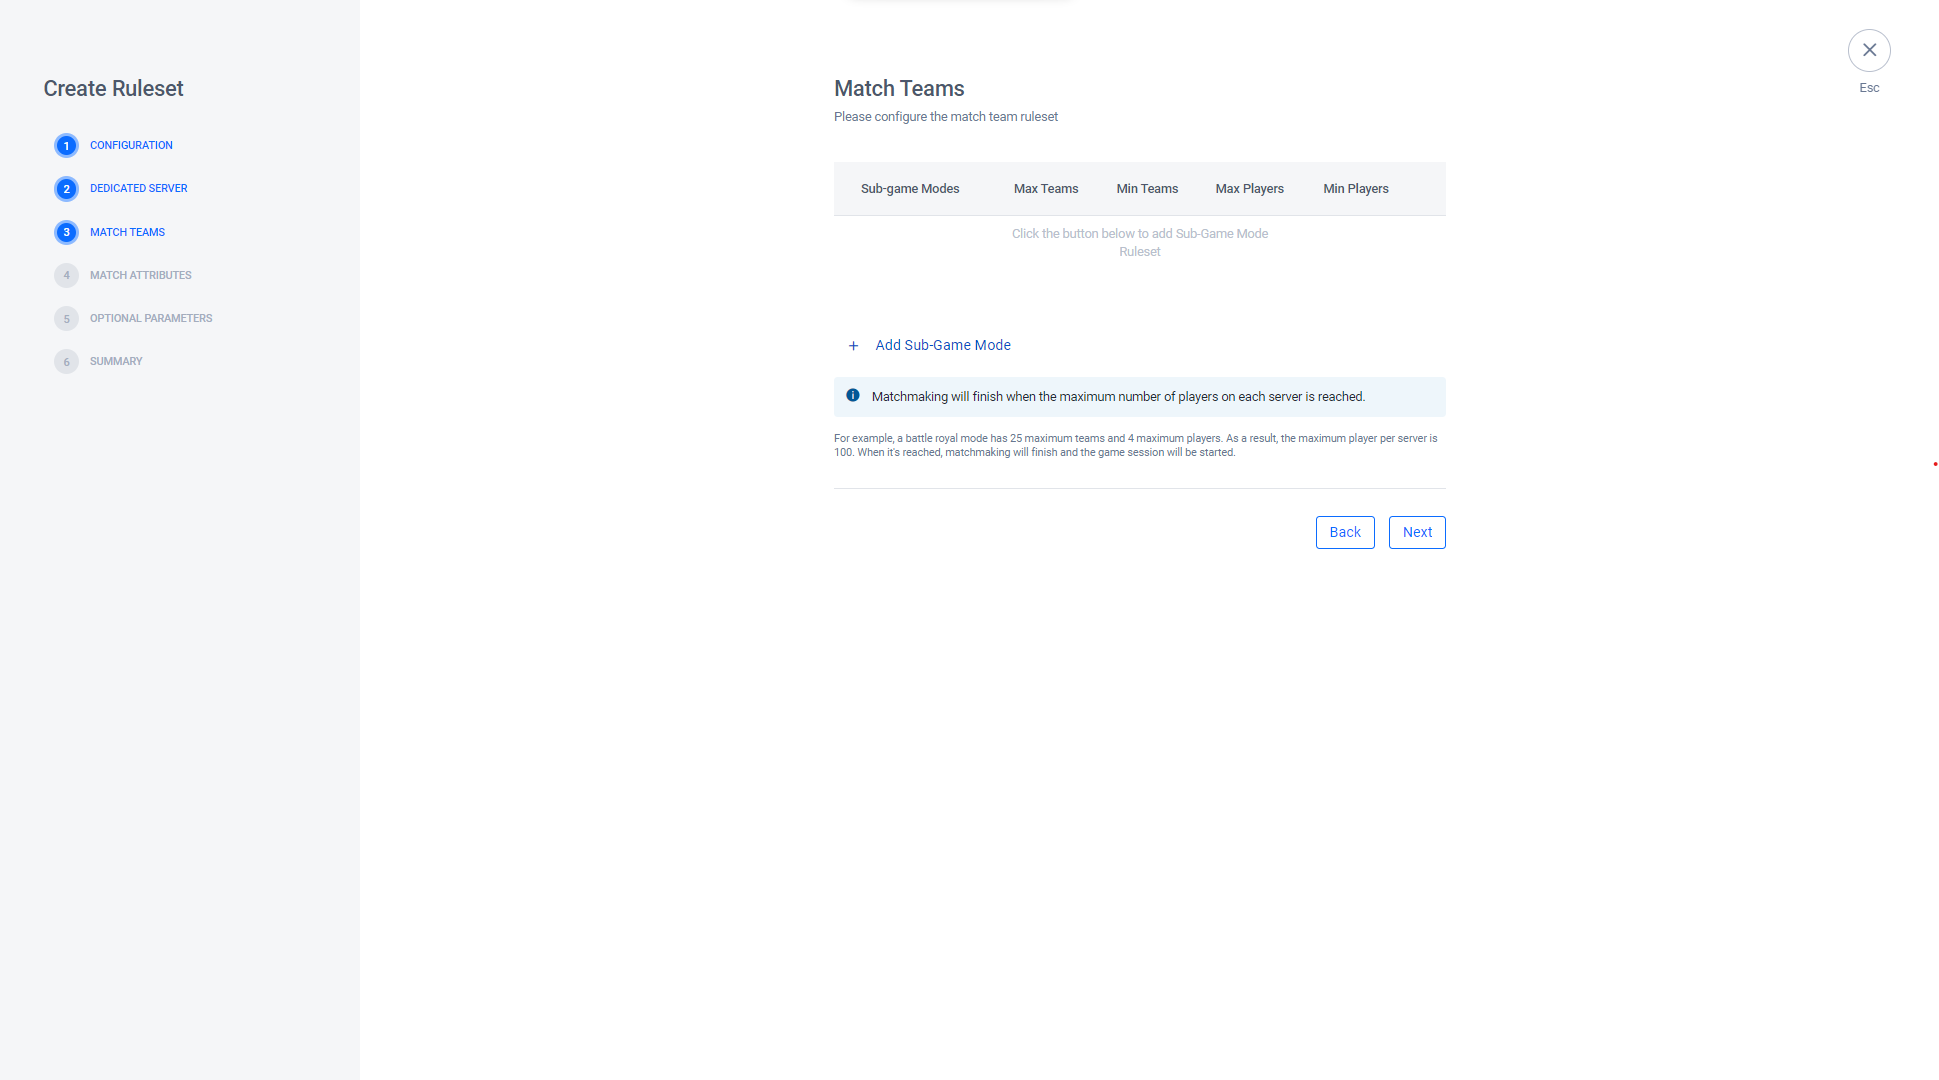
Click Add Sub-Game Mode and fill in the required information:
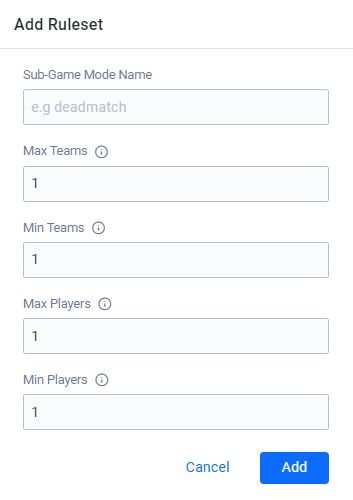
Input a name for the game mode in the Sub-Game Mode Name field.
Input the maximum number of teams allowed in a match into the Max Teams field.
Input the minimum number of teams required for a match into the Min Teams field.
Input the maximum number of players allowed in a party into the Max Players field.
Input the minimum number of players required to form a party into the Min Players field.
Once completed, click Add. Your new sub-game mode will be added to the list. You can create additional sub-game modes on this page by repeating the above process.
If you didn't activate Sub-Game Mode on the Configuration page:
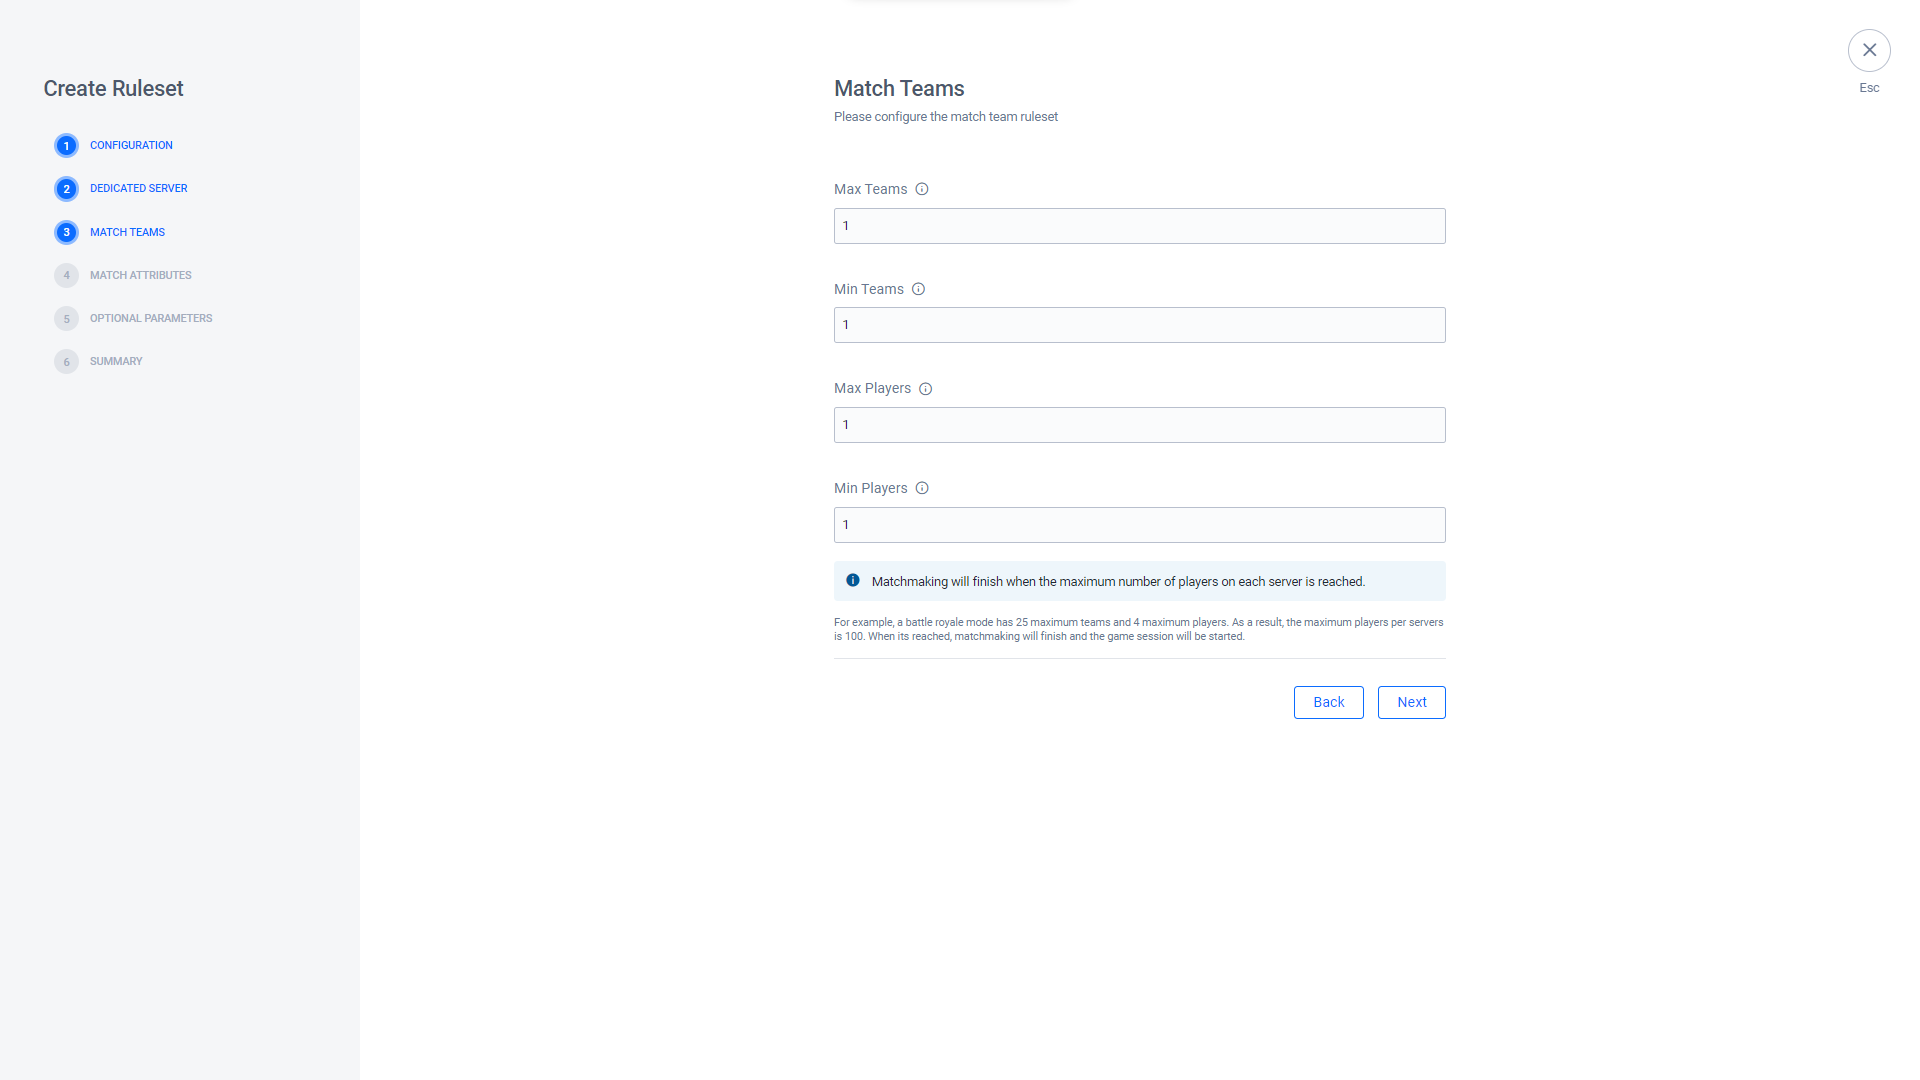
- Input the maximum number of teams allowed in a match into the Max Teams field.
- Input the minimum number of teams required for a match into the Min Teams field.
- Input the maximum number of players allowed in a party into the Max Players field.
- Input the minimum number of players required to form a party into the Min Players field.
Once completed, click Next.
On the Match Attributes page, click Add Attributes to add new match attribute.
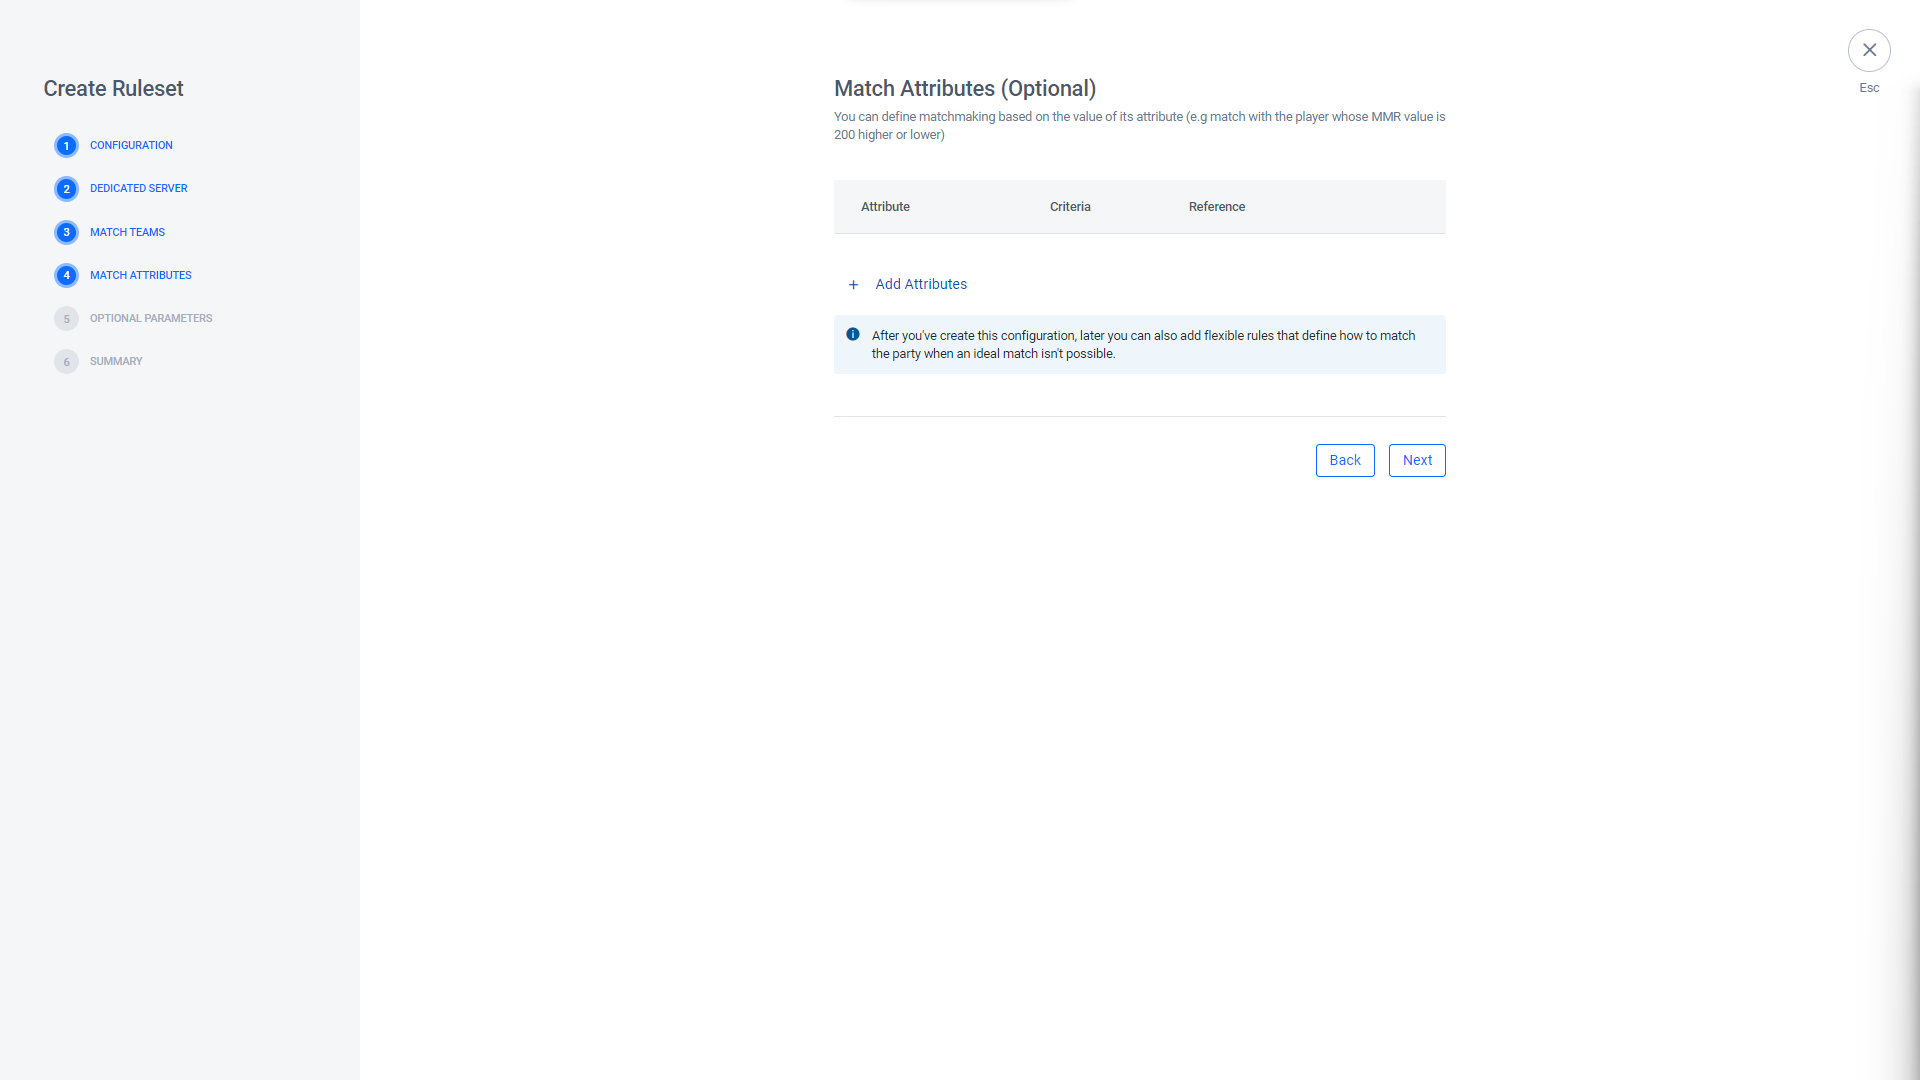
The Add Match Attribute form will appear. Fill in the required information:
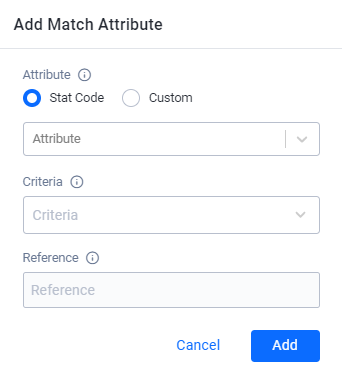
Choose the player Attribute type. You can choose Stat Code if you've already created a related statistic configuration. Otherwise, you can choose Custom if you want to use a custom attribute that doesn't have a Stat code.
tipSee our Cloud Statistics documentation for more information on creating statistics.
Input the Attribute. If you chose Stat Code above, then you can choose a pre-created stat code from the dropdown. If you chose Custom, enter the new attribute's name.
Input the Criteria for matchmaking. Currently, the only supported value for criteria is Distance, which refers to the numerical difference between players' attributes. Matchmaking will match players based on their attribute distance.
Input the Reference point or number used for the criteria. As an example, if the distance reference is 1000 and the player's attribute value is 2000, the matchmaking service will match players with attribute values between 1000 and 3000.
Once completed, click Add. The new match attribute will be added to the list. You can create additional match attributes on this page by repeating the above process.
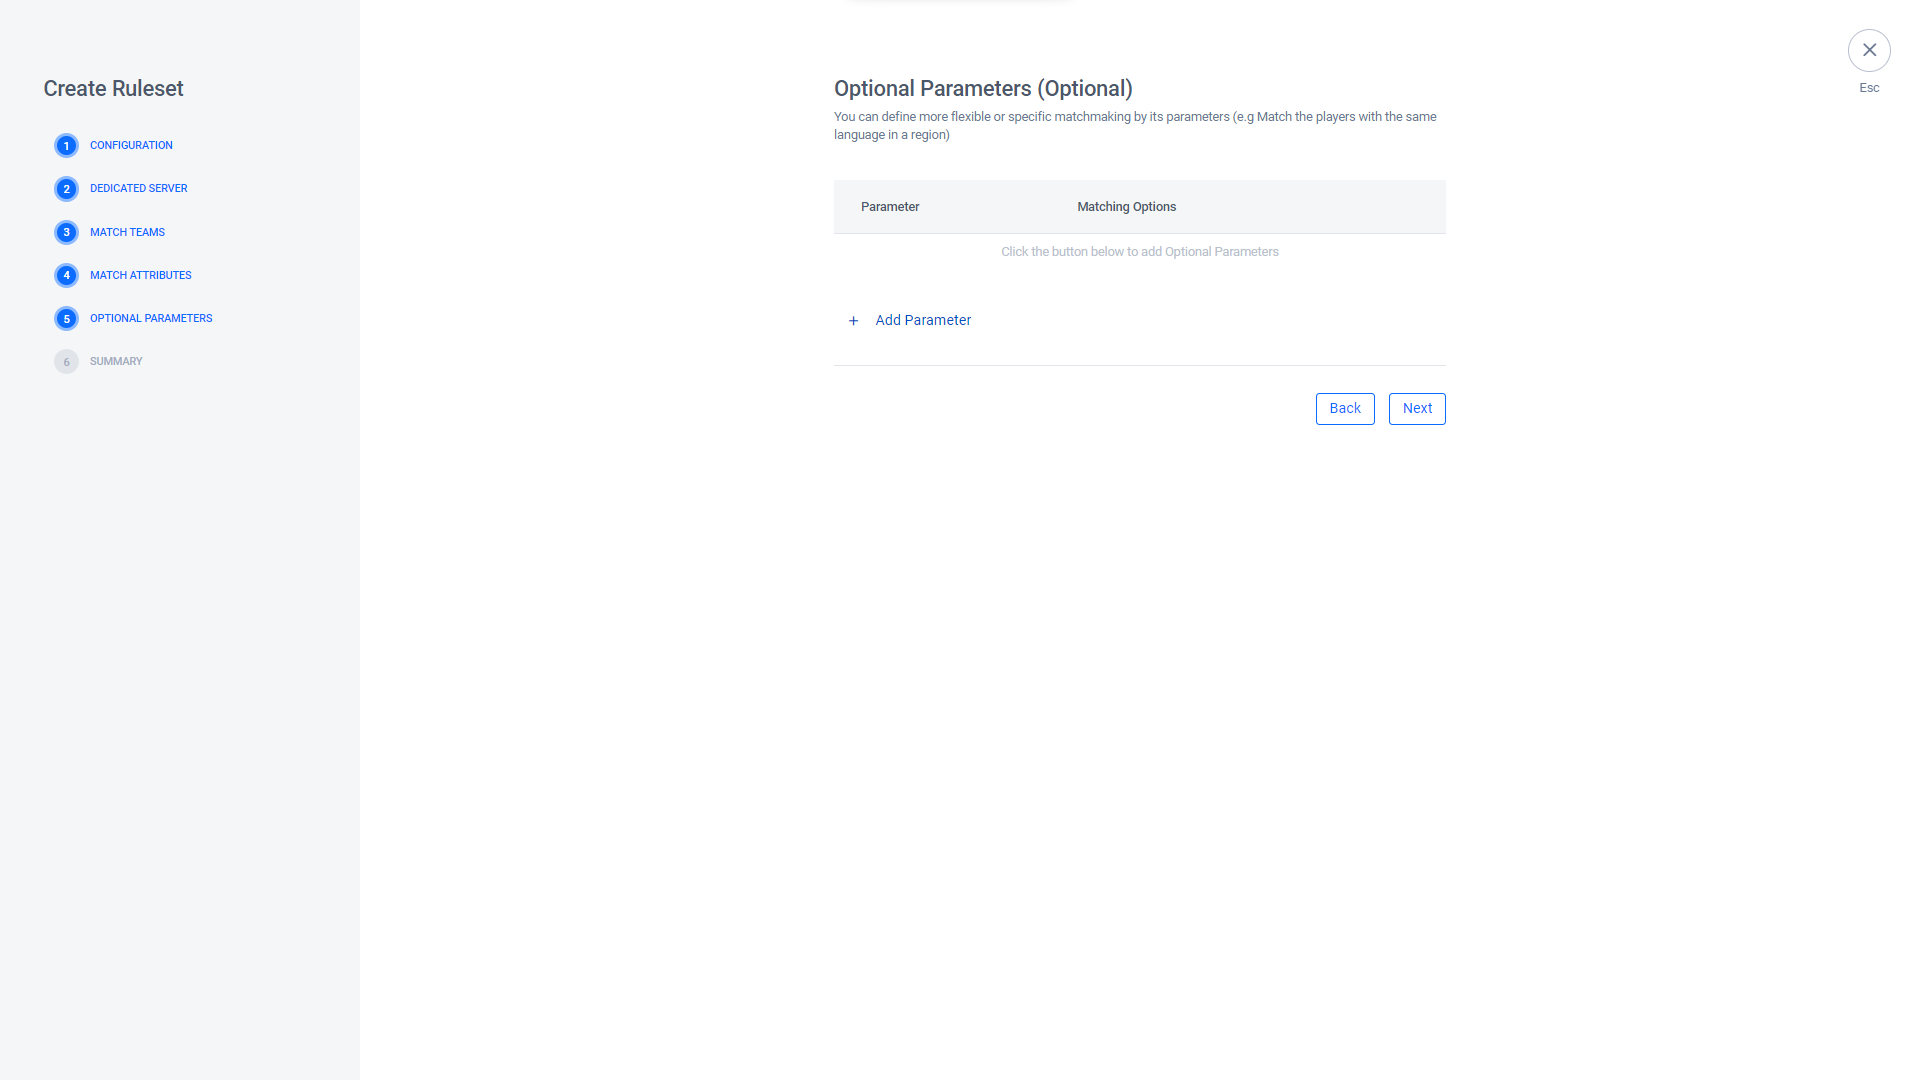
On the Optional Parameters page, click Add Parameter to add a new match parameter.
The Add Optional Parameter form will appear. Fill in the required information:
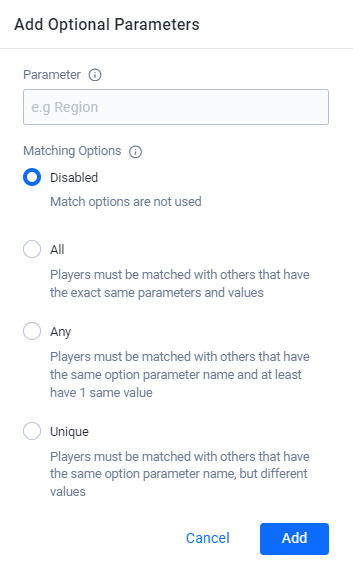
- Input the desired parameter name in the Parameter field. This can be Region, Language, Player Level, or anything else.
- Select the desired Matching Option from the choices below:
- Select Disabled if you want to turn off optional parameters.
- Select All if you want players to be matched when all of the defined parameters match.
- Select Any if you want players to be matched when any single parameter is a match.
- Select Unique if you want players to be matched when none of the defined parameters match.
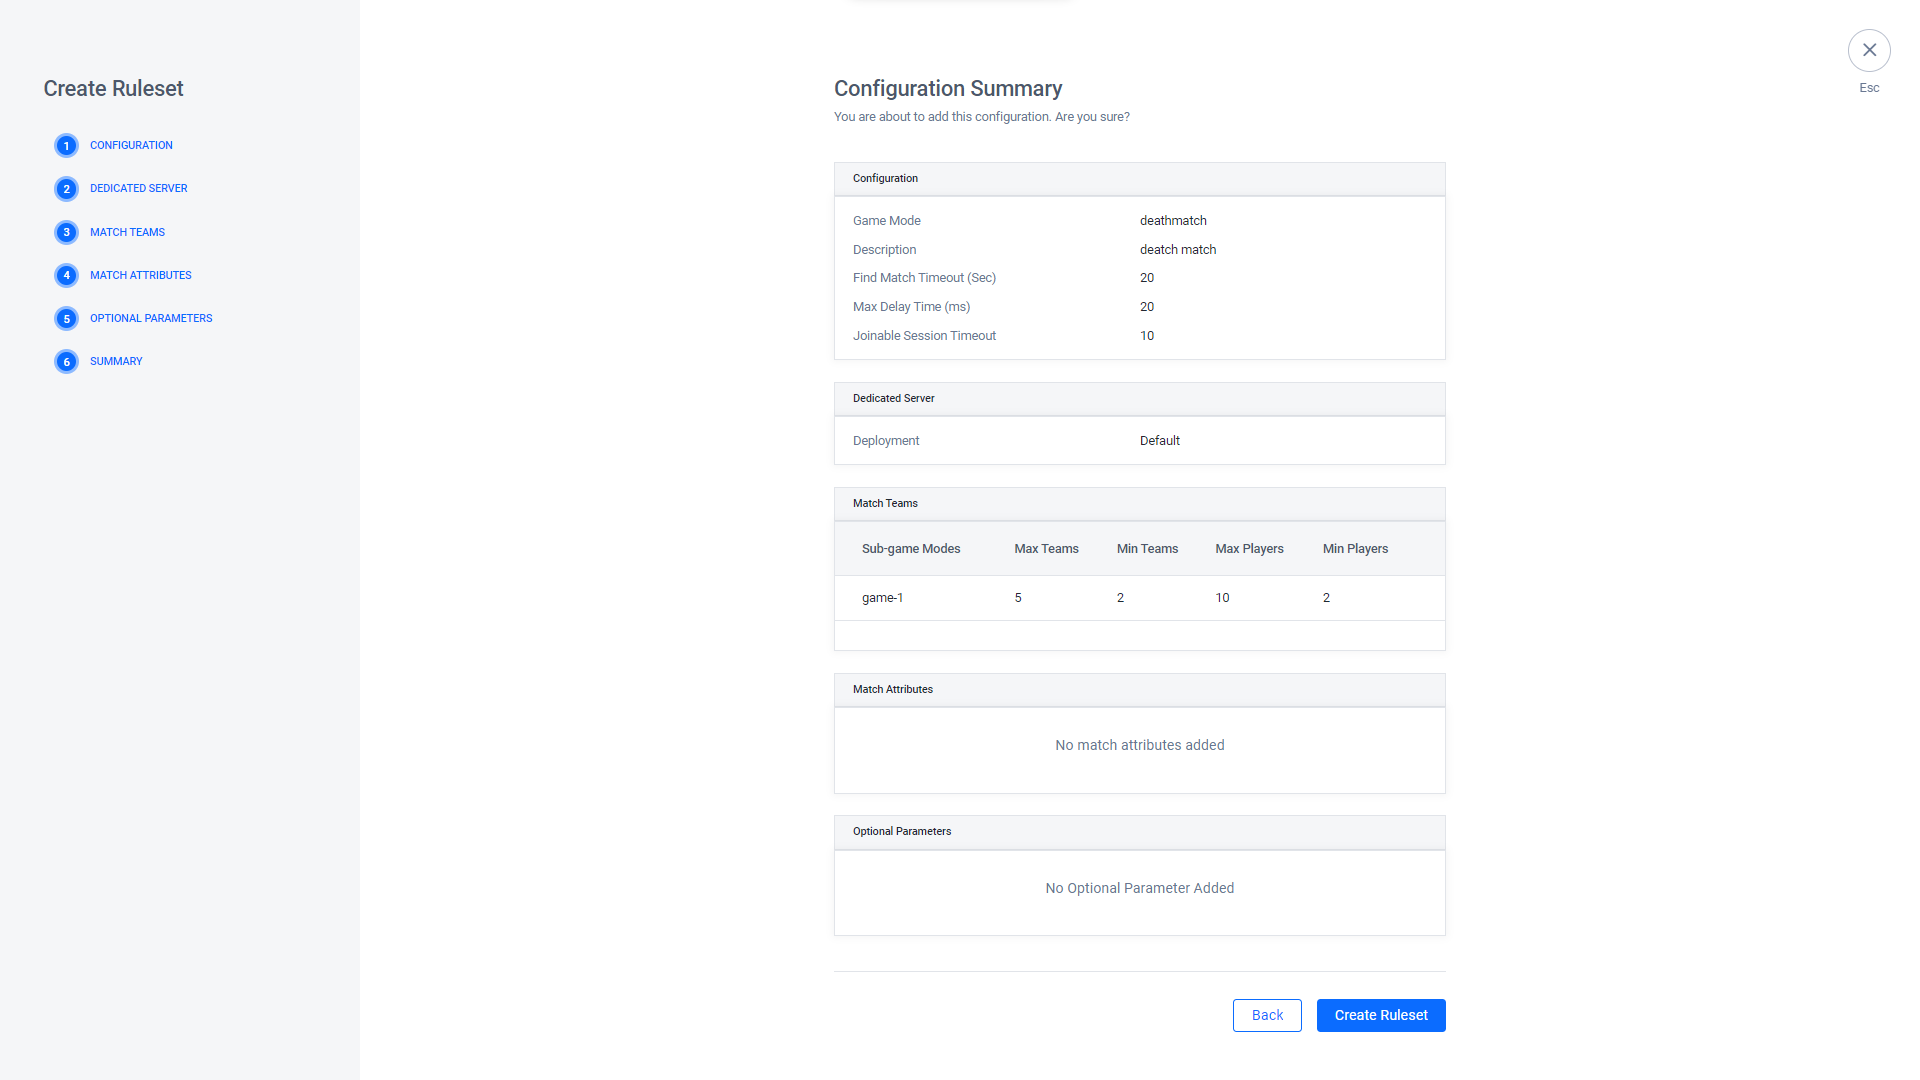
Once completed, click Add Parameter to add the new parameter. The Configuration Summary page will appear. Check the details you have entered and click Create Ruleset to create the configuration.