Upload a New Server with DS Uploader
Upload a New Server with DS Uploader
You can upload a new server using our DS Uploader. Before uploading a server for the first time, you'll have to create an IAM client for DS Uploader with the following permissions:
You only need to create an IAM Client for DS Uploader the first time you use it to upload a server.
To upload a DS uploader, follow the steps below:
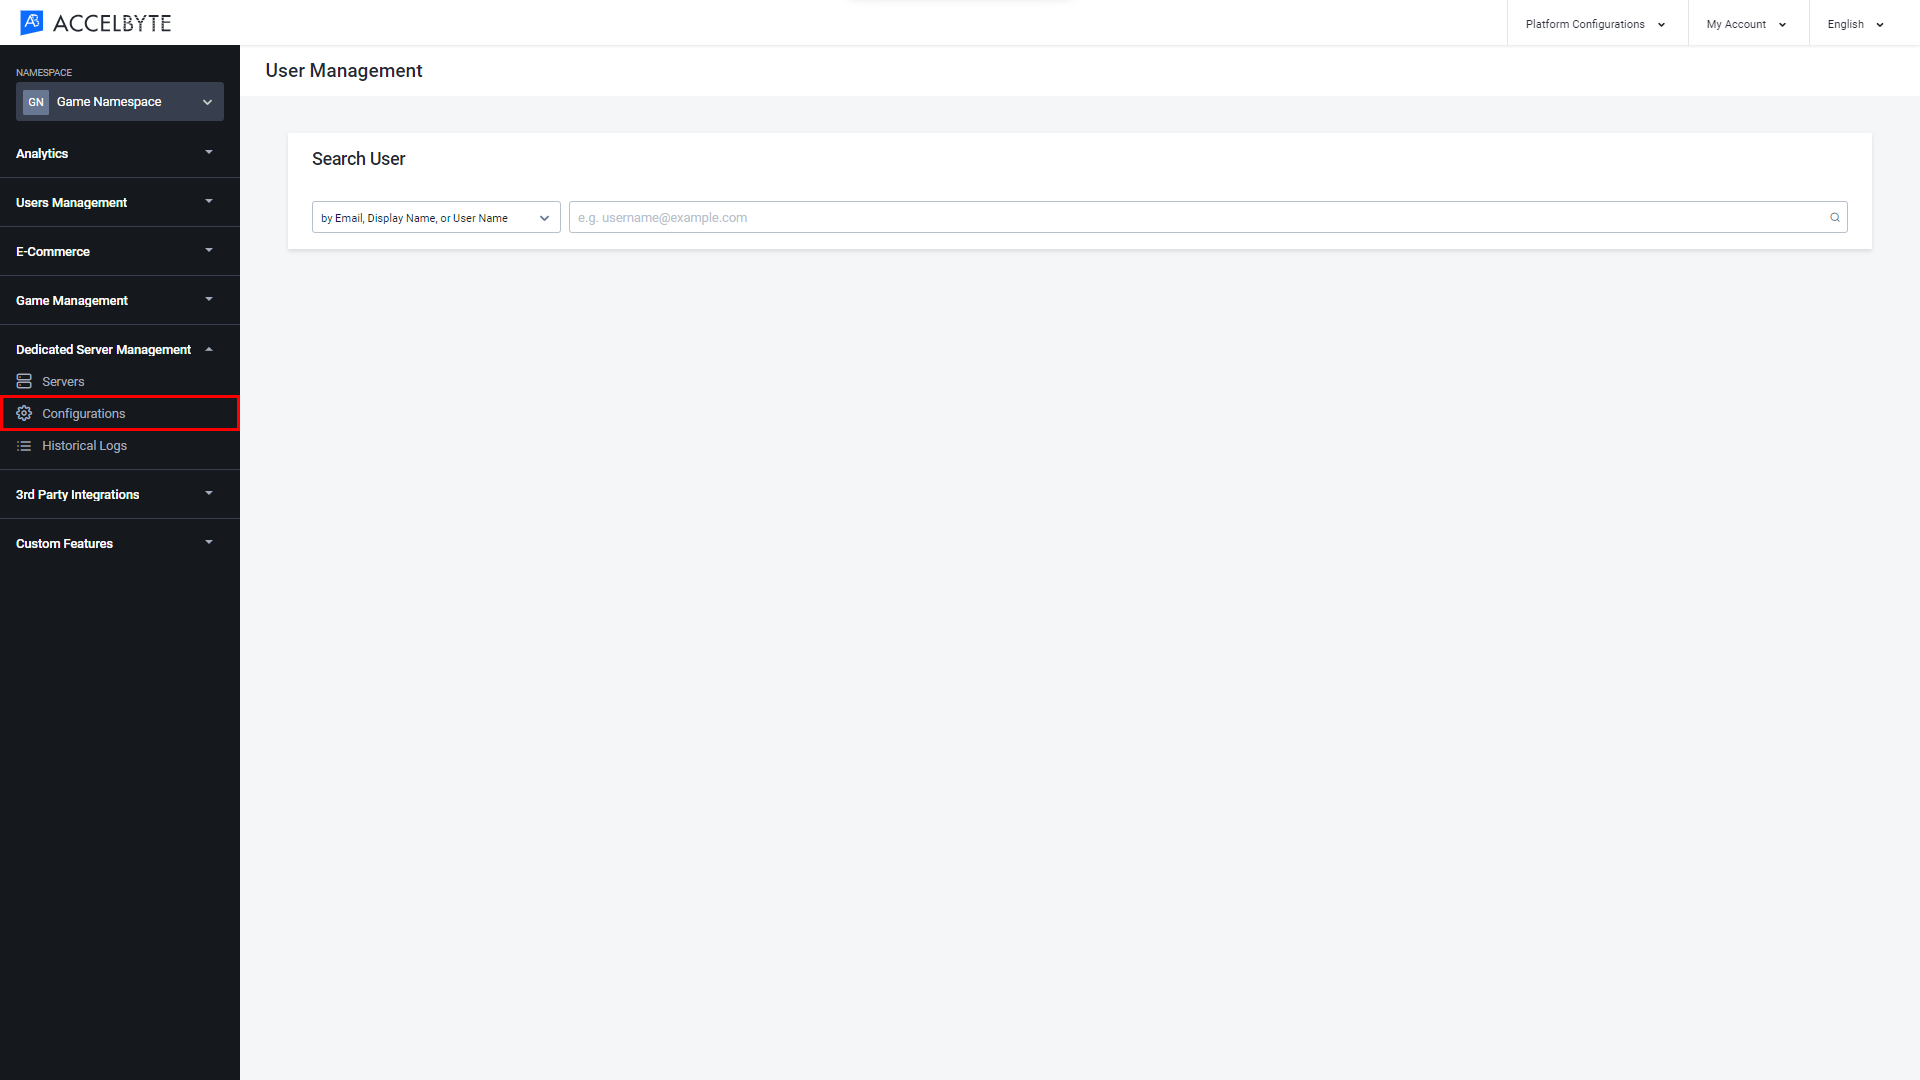
In the Admin Portal, open the desired game namespace, then go to the Dedicated Server Management section and open the Configurations menu.
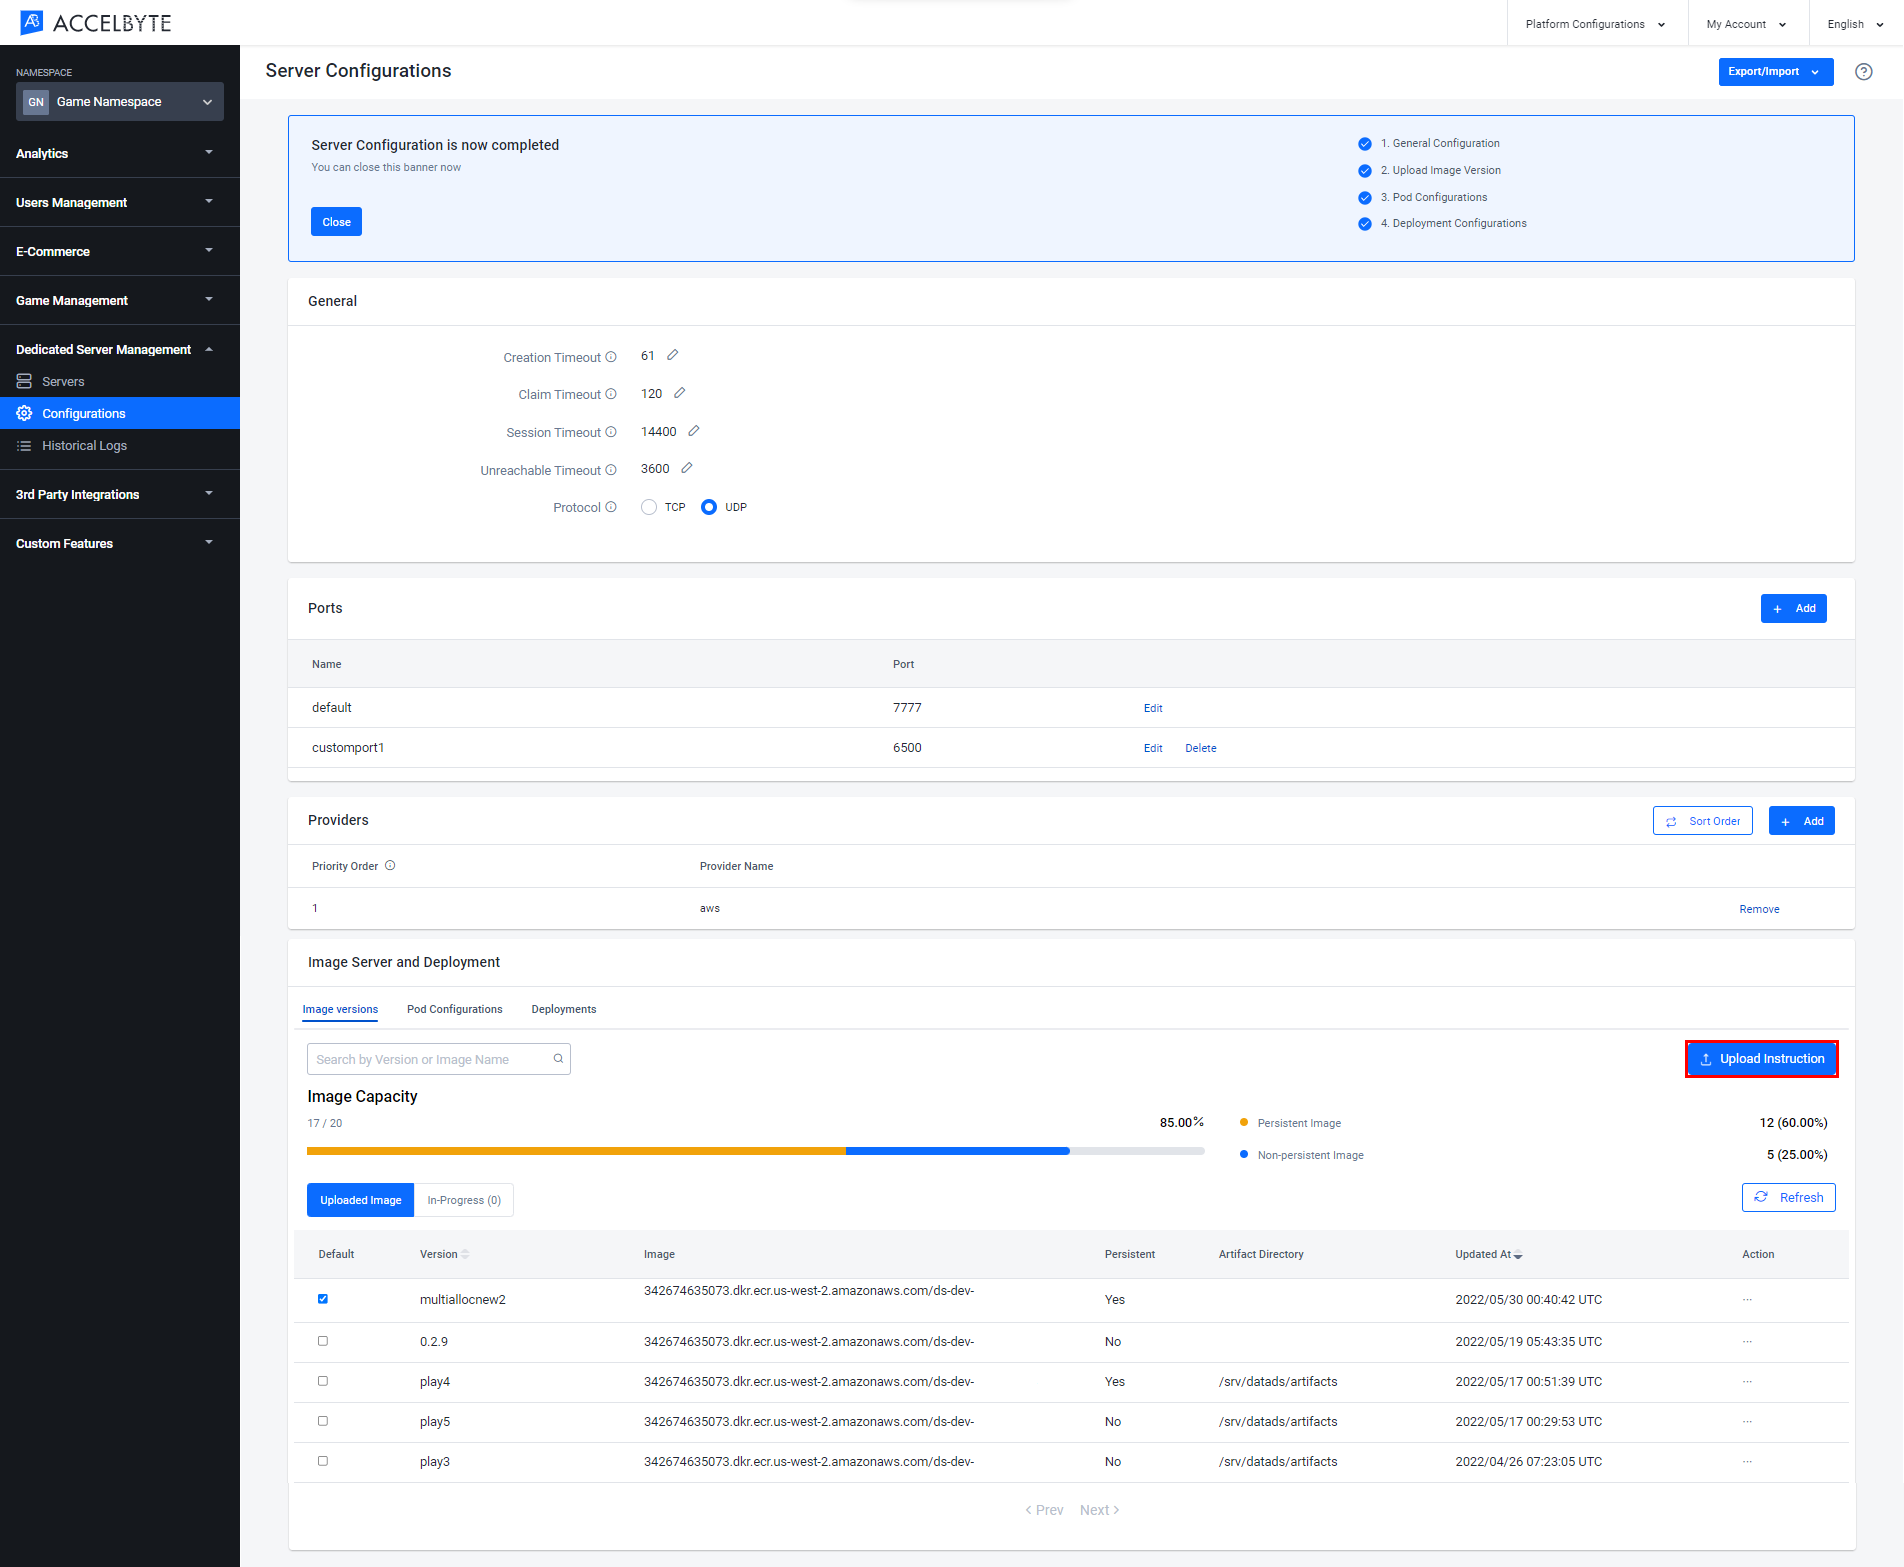
On the Configurations page, click the Upload Instructions button in the Image Server and Deployment panel.
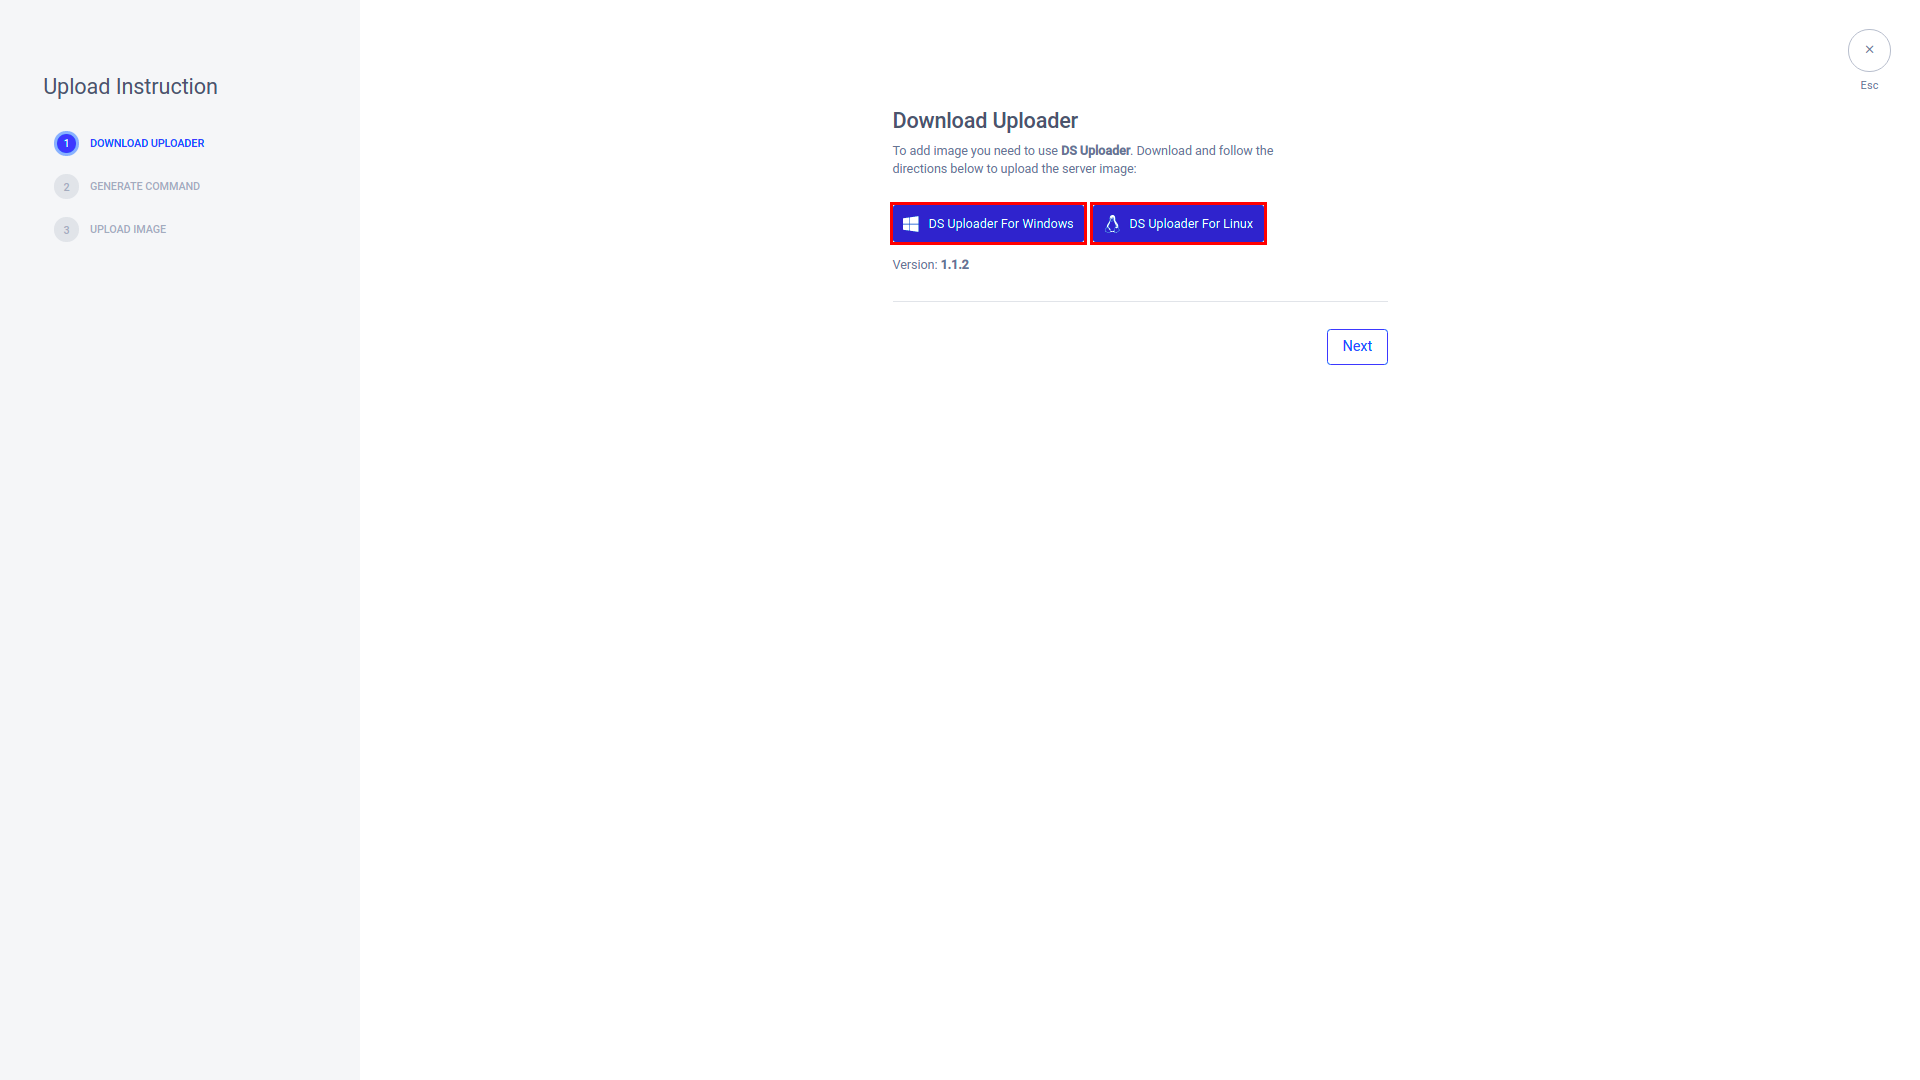
Download the version of the dedicated server uploader that matches your operating system. Once completed, click Next.
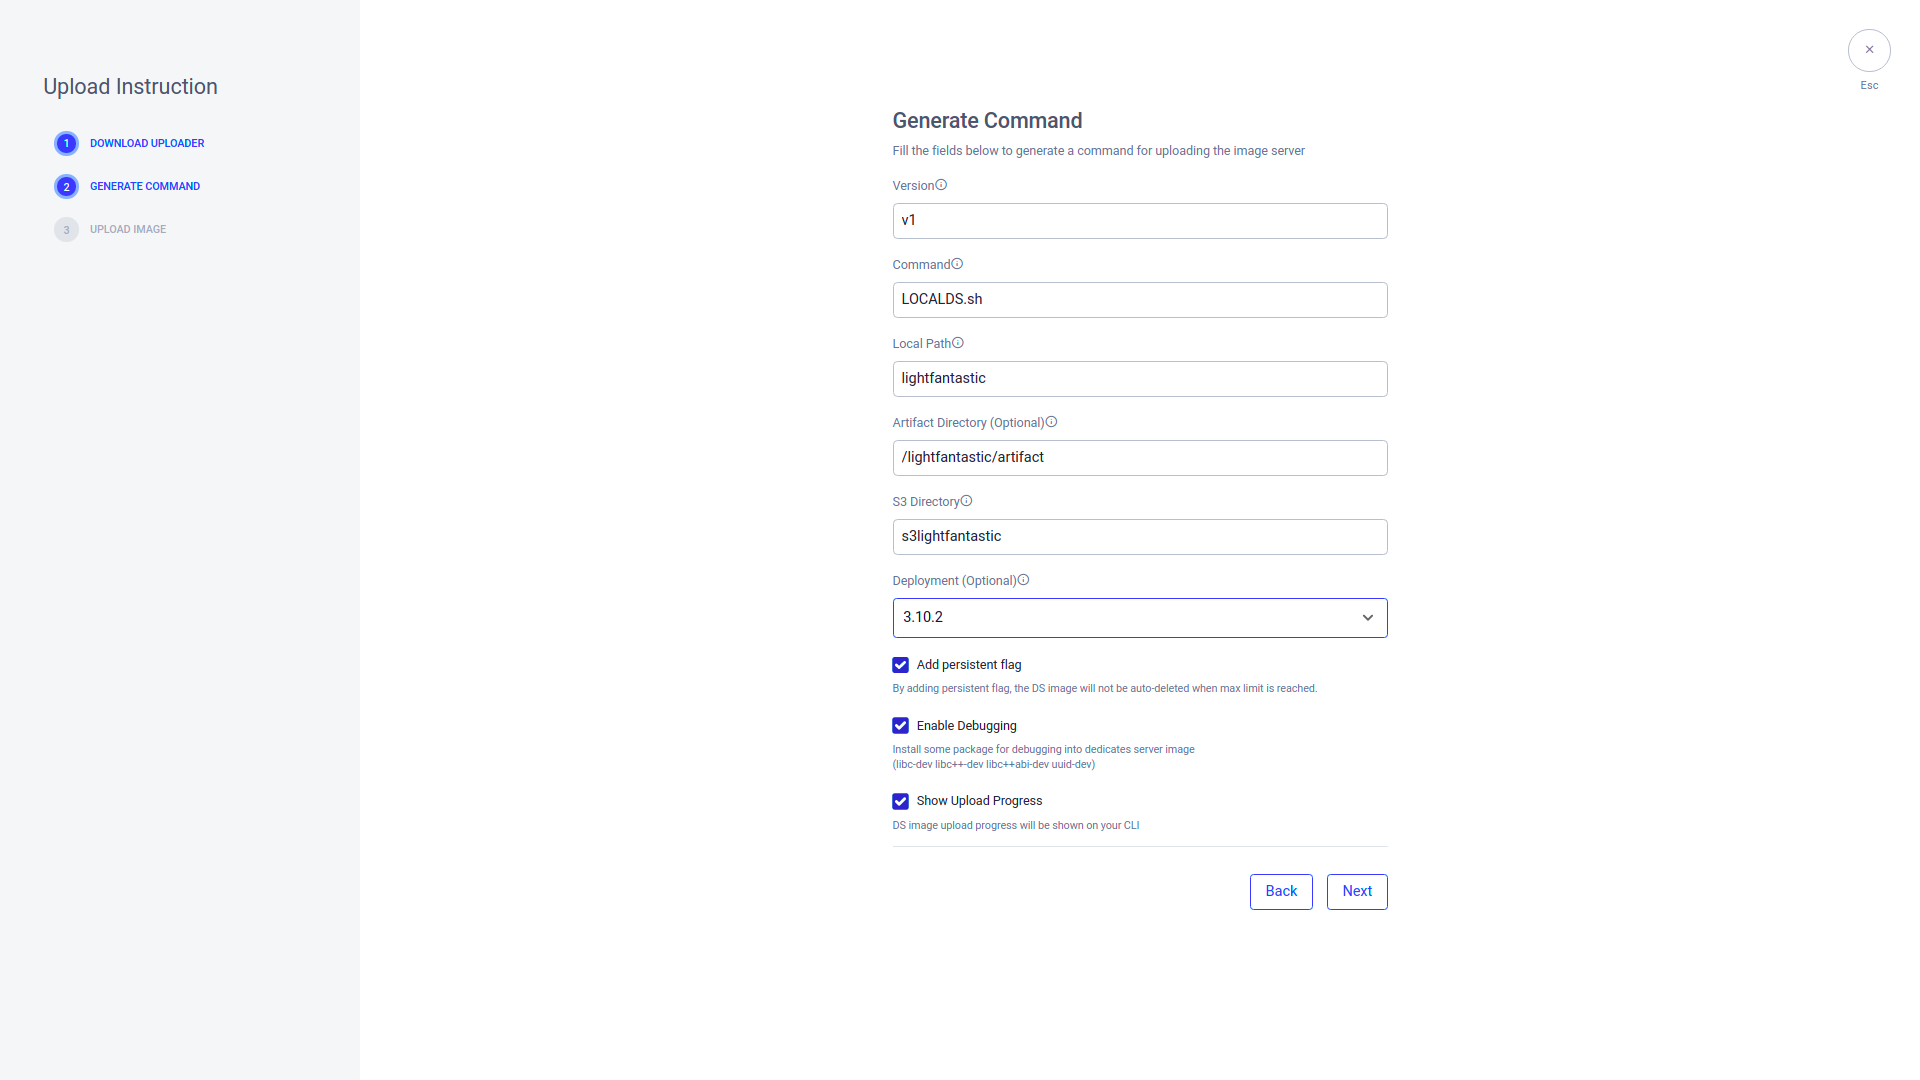
On the Generate Command page, fill in the fields below with the data from the game server you're uploading:
Fill the Version field with the version of the game server.
Fill the Command field with the game server's executable command. This can be found inside the game server directory.
Fill the Local Path field with the game server's local path. You can use either a relative or absolute path.
Fill the Artifact Directory field with the directory path where artifact files will be stored.
tipThe directory path starts from your current directory server path.
Fill the S3 Directory field with the directory of your S3 bucket.
Fill the Deployment field with the deployment that will be used for this image server.
Select the Add Persistent Flag option if you don't want this server to be deleted when the maximum number of servers is reached.
Select the Enable Debugging option if you want to install a package for debugging into the dedicated server image.
Select the Show Upload Progress option if you want the DS image upload progress to appear in your CLI.
Once completed, click Next.
A command that you can use to upload your game server will be automatically generated for you. Before you use this command, make sure you replace the client_id and client_secret with the Client ID and Client Secret of the IAM Client for your DS Uploader. Open the CLI in the folder that contains the DS Uploader and the game server, and run the command.
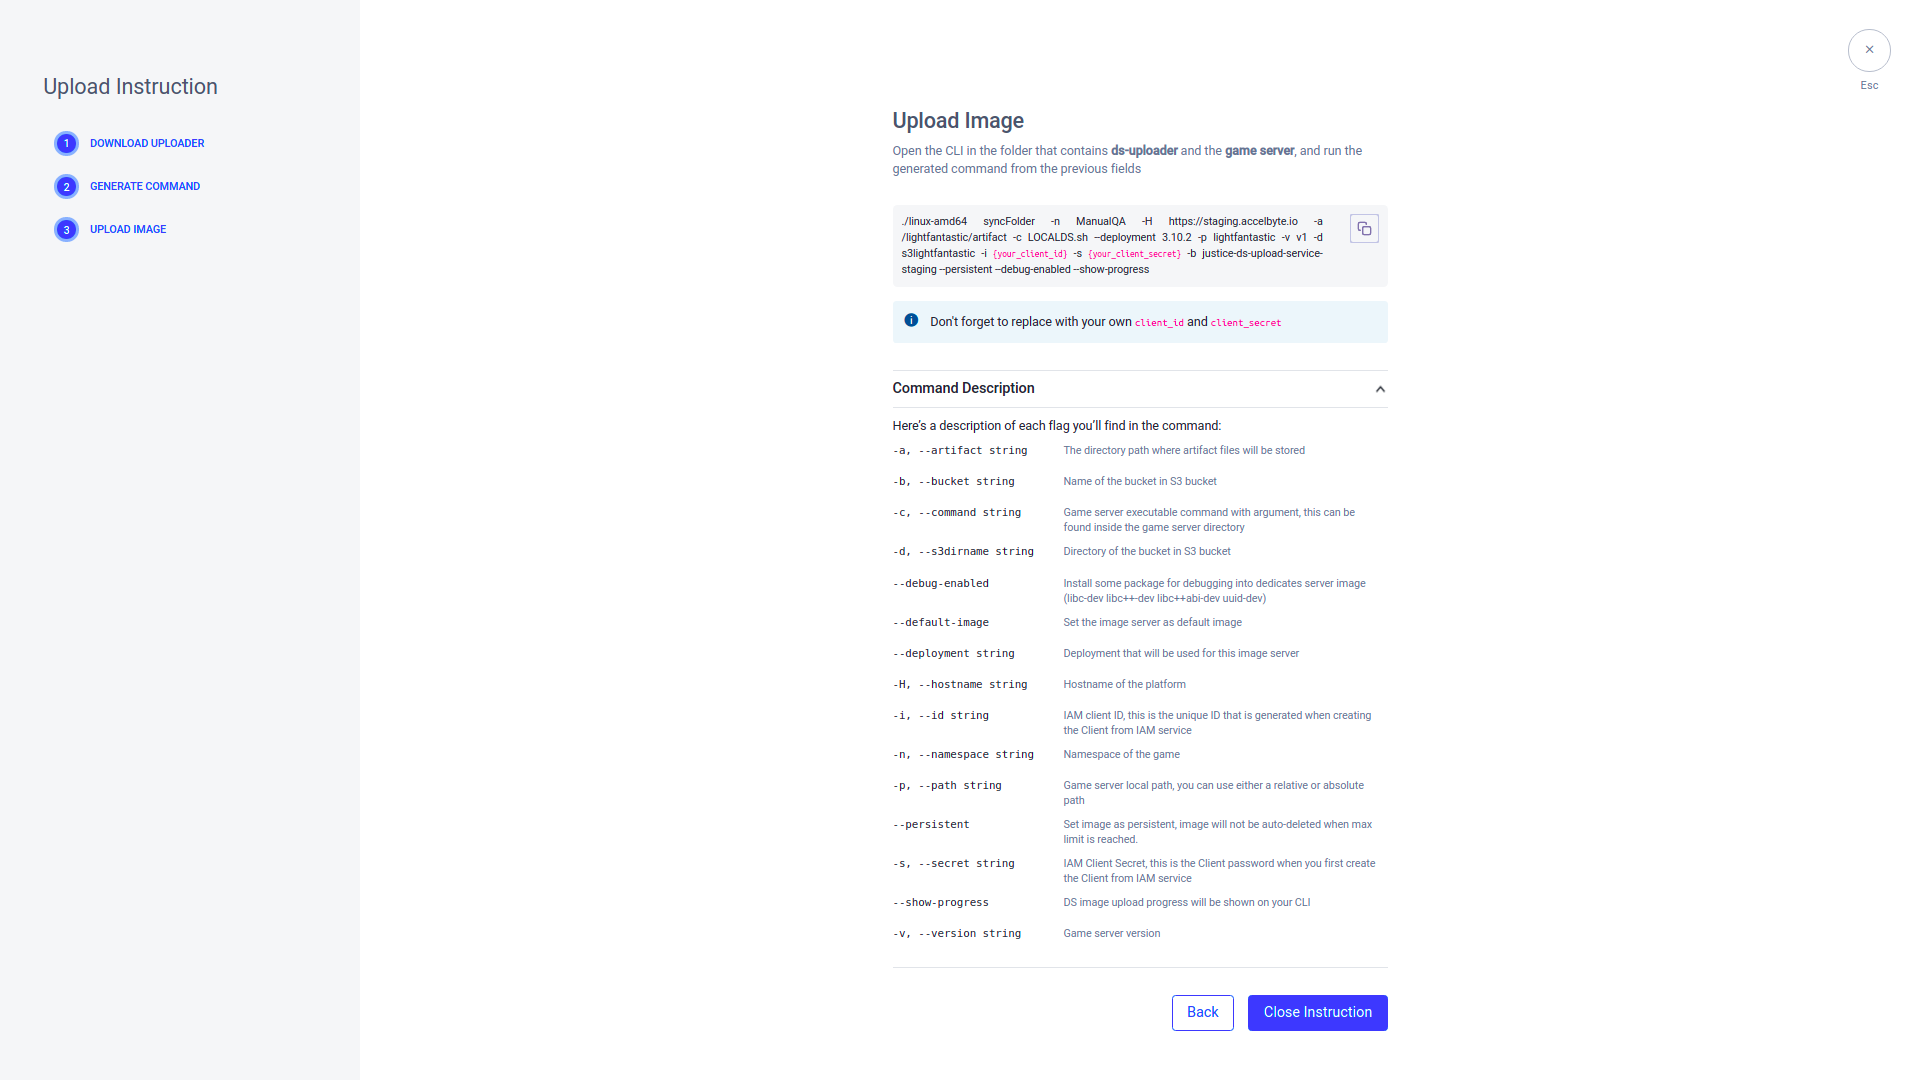
The command will contain multiple flags denoting the information you entered earlier. The flags and their meanings are listed below for reference:
Flag Shortcut Description --artifact string -a The directory path where artifact files will be stored. --bucket string -b The name of your S3 bucket. --command string -c The server's executable command. --s3dirname string -d The directory path of your S3 bucket. --debug-enabled Use this flag to install a debugging package into the server. --default-image Use this flag to make this server the default server image. --deployment string Deployment that will be used for this image server --hostname string -H The hostname path of the platform. --id string -i The IAM Client ID of your DS Uploader. --namespace string -n The namespace of your game. --path string -p The local path of the game server. --persistent Use this flag to make the server persistent. Persistent servers aren't deleted when the server limit is reached. --secret string -s The IAM Client Secret of your DS Uploader. --show-progress Use this flag to make the server image upload appear in your CLI during the upload. --version string -v The game server version.
You can also view this information in your CLI by using the "<ds-uploader>.exe --help" command.