Testing the Matchmaking
In this section, you will learn how to run and test your Matchmaking service locally.
Inside the AccelByte Cloud Golang SDK repository, open the samples/title-matchmaking/Client folder.
To test the Matchmaking service, prepare two test player emails and passwords.
Open the terminal and go to the title-matchmaking repo directory.
In your terminal, run the following command and fill in the following environment variables:
Input the Client ID, Client Secret, and BaseUrl with the value set in your OAuth Client in the Admin Portal.
Define the Create Matchmaking API URL with the AWS Lambda API Gateway. For testing purposes, you can use API Gateway's TestInvoke feature.
$ export APP_CLIENT_ID=<user_secret_id>
$ export APP_CLIENT_SECRET=""
$ export JUSTICE_BASE_URL="<iam_url>"
$ export CREATE_MATCHMAKING_ENDPOINT="<endpoint>"
Once completed, press Enter.
tipIf you need to check the environment value at a later stage, use the following command: $ echo $APP_CLIENT_ID $ echo $APP_CLIENT_SECRET $ echo $JUSTICE_BASE_URL
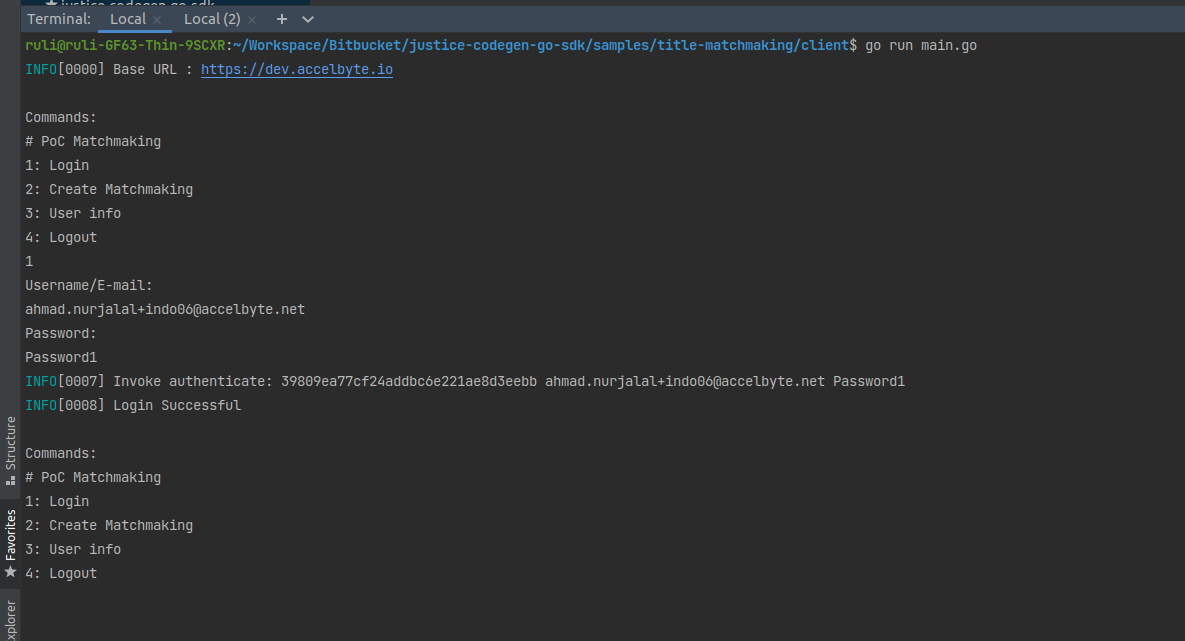
To run the matchmaking, use the command go run main.go to bring up the matchmaking command.
Commands :
# PoC Matchmaking
1: Login
2: Create Matchmaking
3: User info
4: Logout
Enter command 1 to log the player into the matchmaking. Enter the player's email and password.
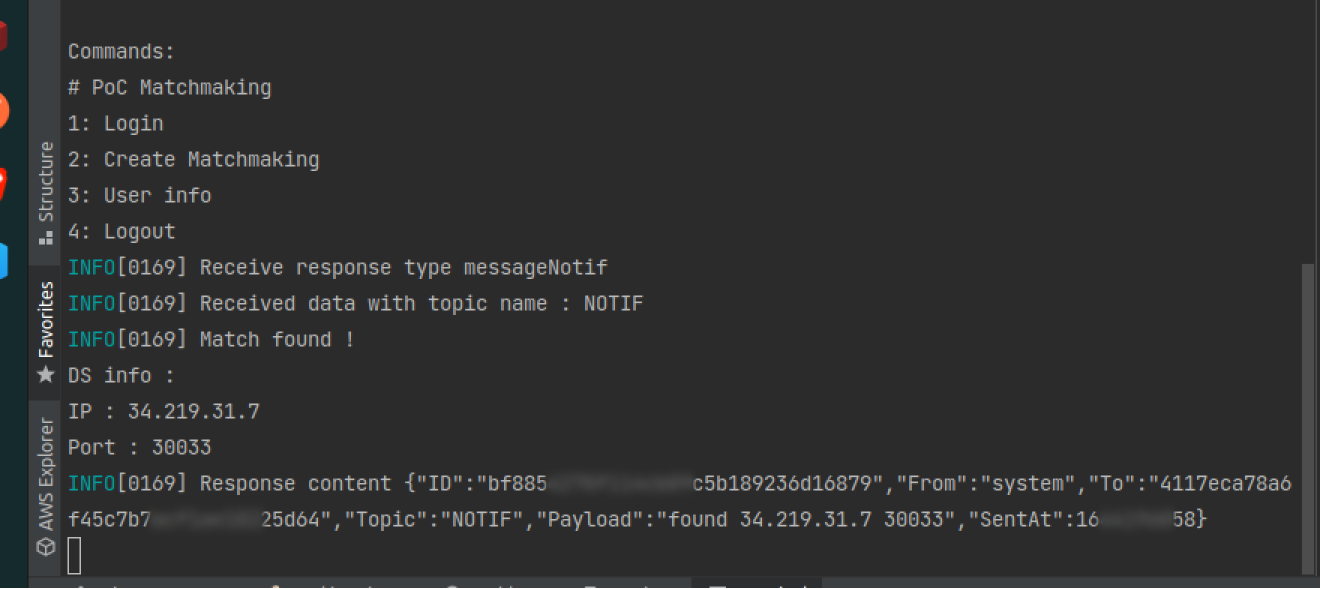
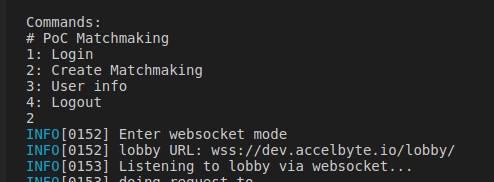
Enter command 2 to bring players online for the matchmaking. In order to make a successful match, both players must be online. This command will call the Lambda function and listen to the notification service to search for a match. A notification will be sent when a match is found.
The returned response contains the IP and port:
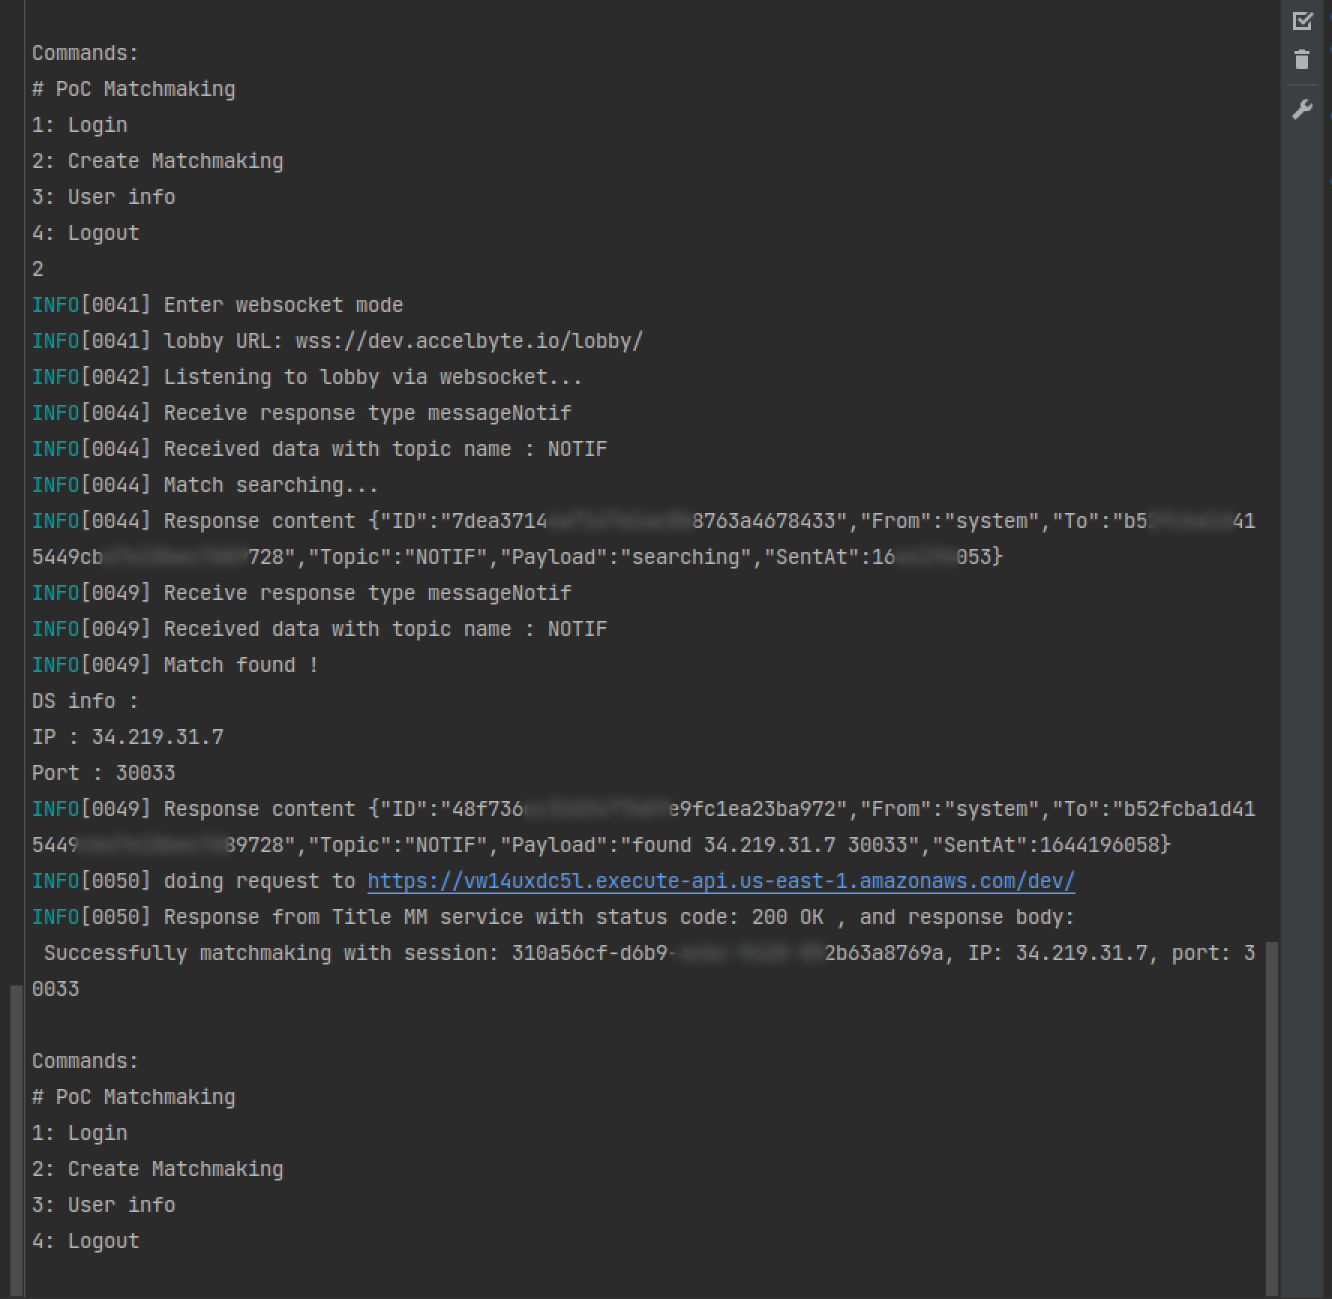
Below is an example of what your screen will look like from the allies' side once a match has been found. Both players must be online for the match to succeed; otherwise, an error notification will be sent.